
Pom-Pom Rain Clouds

Supplies List
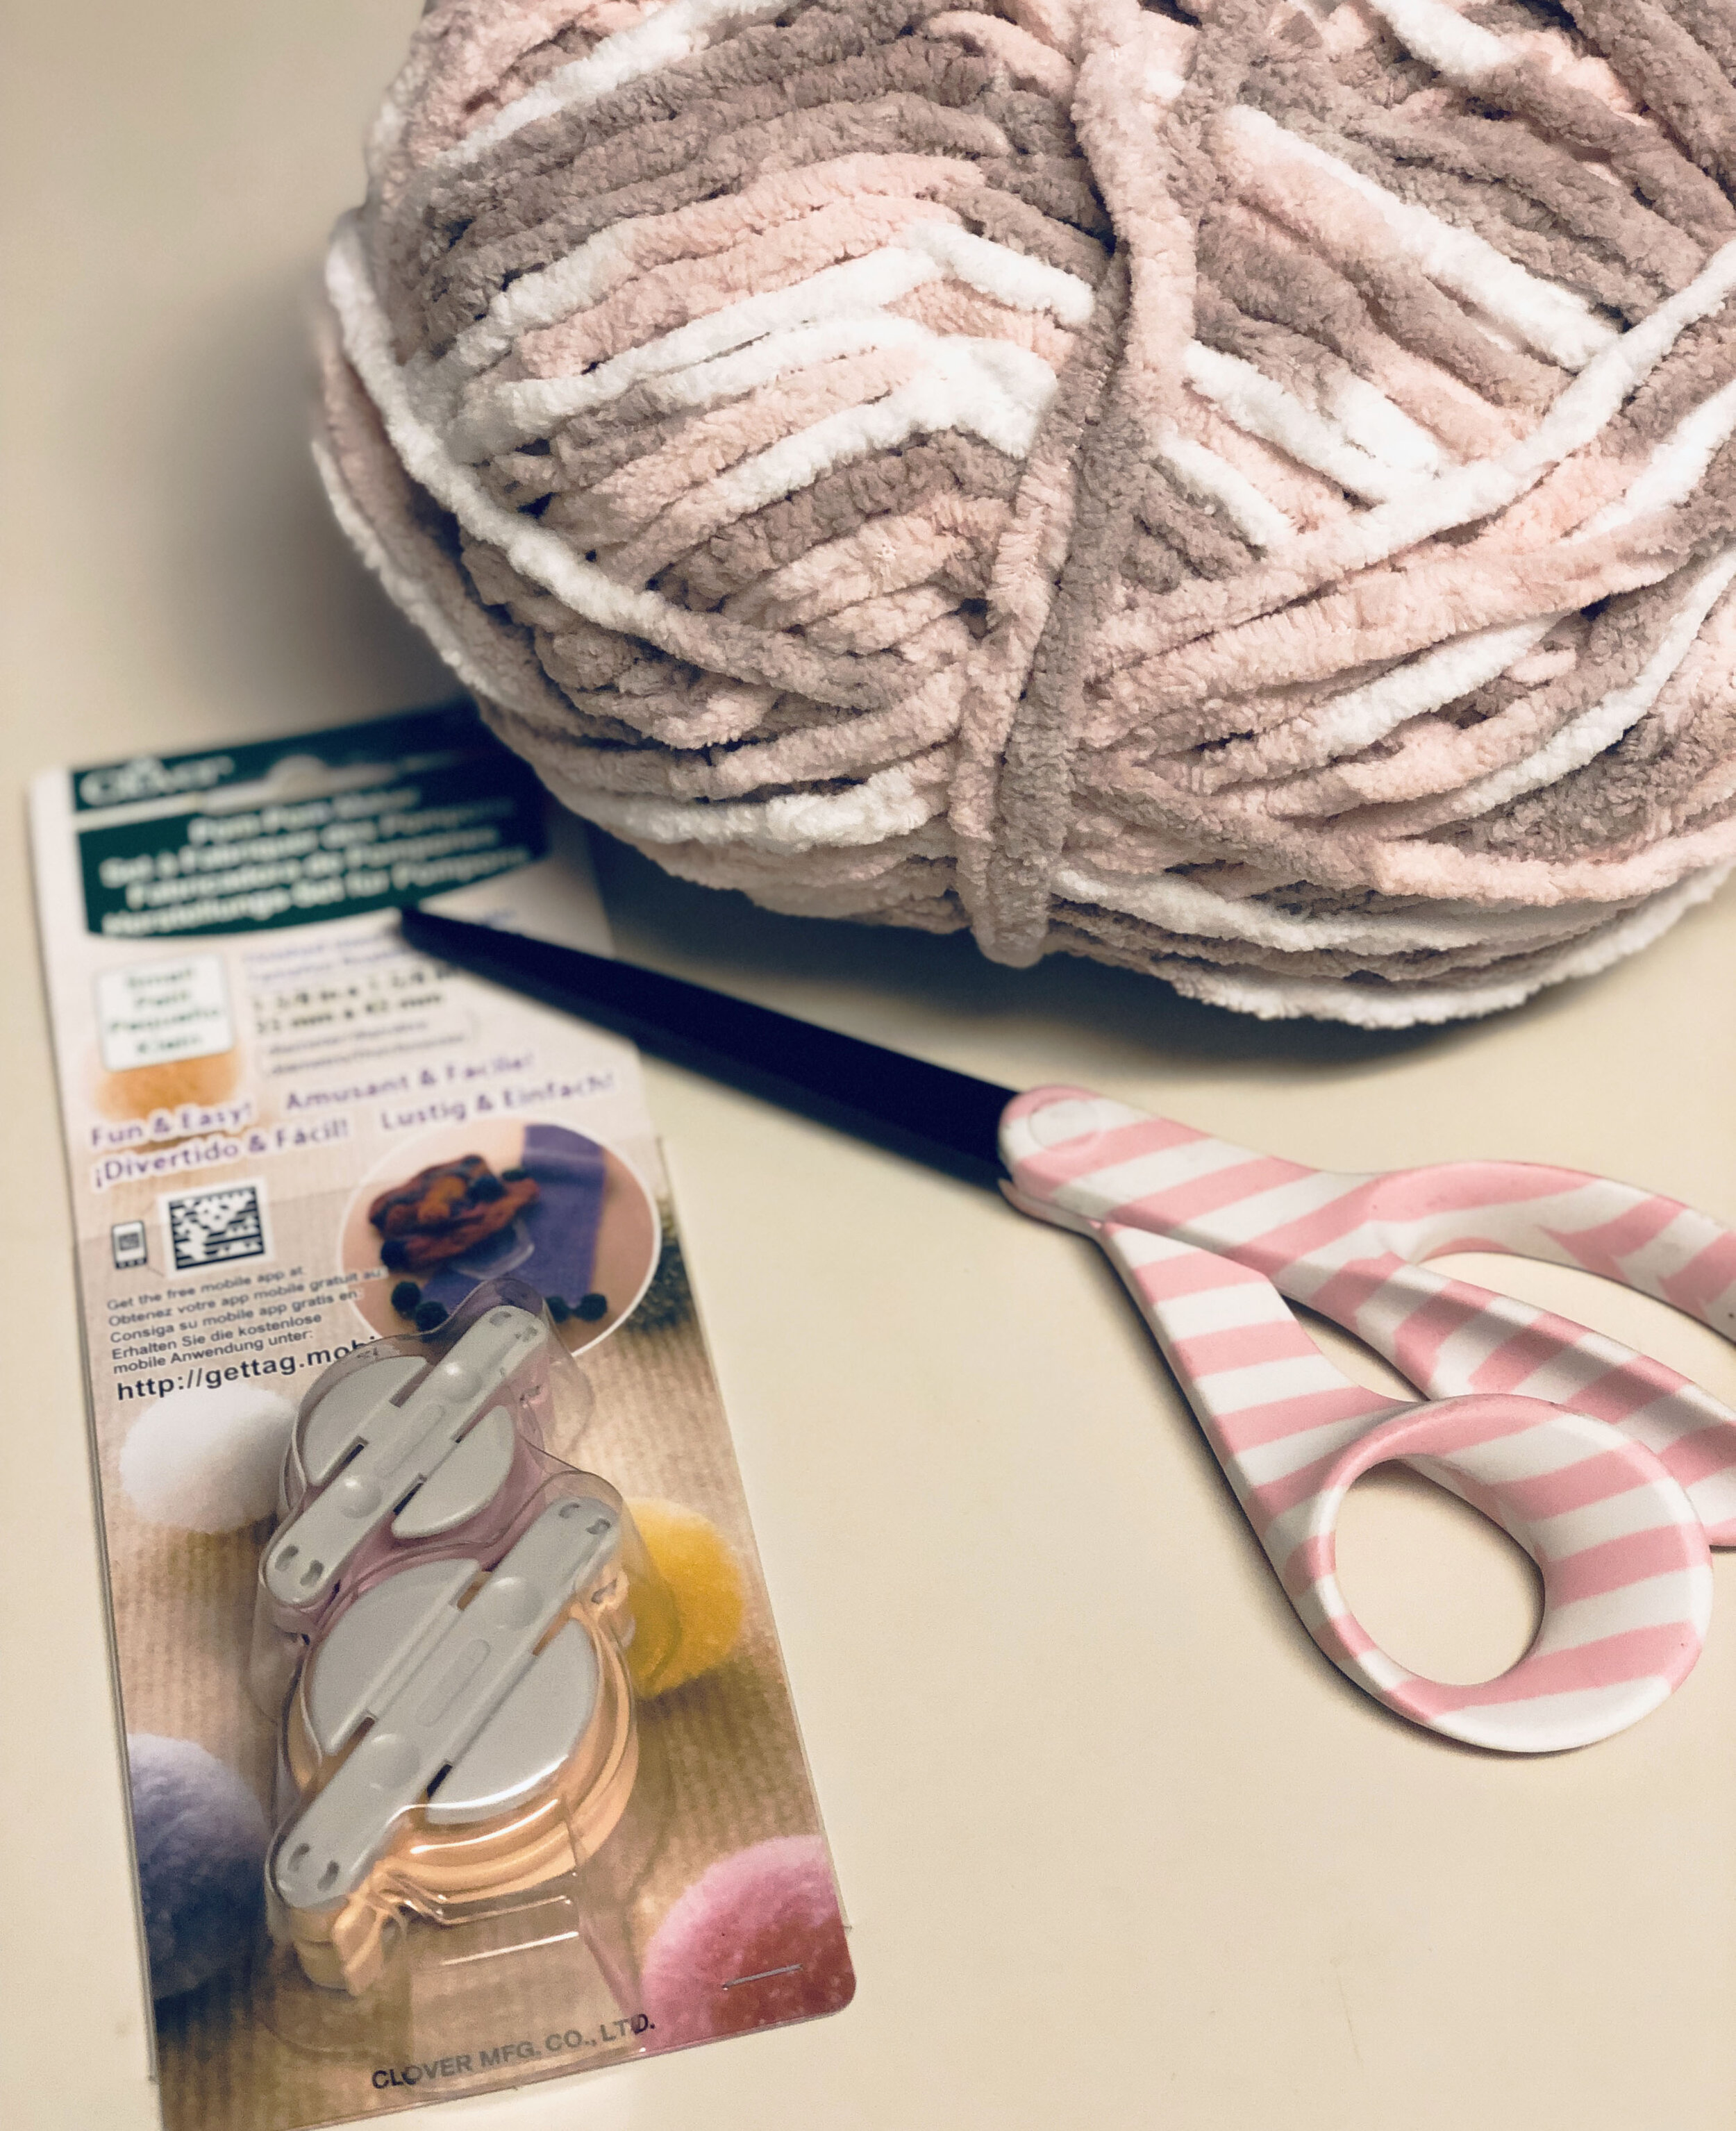
Yarn
Cereal Box, Paper Plate, or Piece or Cardboard
Hot Glue Gun / Glue
PomPom Maker (optional)
Affiliate links are included within this post for your convenience. There is also a video tutorial below for more detailed information and to follow along when you create this project at home!
Step One
The first step is to create pom-poms. You can do this by using a pom-pom maker. OR you can wrap yarn around your fingers or anything about 2”-4” wide (varying the size of each pom-pom), then pull the entire ball off of your fingers and wrap a single piece of yarn around the center of the entire ball. Then cut the ends open, fluff the pom-poms, and do any remaining cutting to make the balls symmetrical.
Step Two
Next, cut a cloud shape out of an old piece of cereal box, a paper plate, or a thin piece of cardboard. You can lay your pom-poms out on the piece of cardboard before you cut it out to be sure you have enough to cover the entire piece. Remember, you will be pushing them together as you glue so be sure that you have enough pom-poms to cover the shape of cardboard
Step Three
Then it’s time to get out the glue gun and start glueing the pom-poms to the cardboard. It works best to start at one end and work your way across the piece of cardboard. Just be sure they are close enough together that you do not see any cardboard between pom-poms. You can also glue long pieces of yarn to the back of the cardboard to resemble rain coming off your raincloud.
This would be a great process to make rainbows with different color yarns too. Get creative, make it your own, and most of all: HAVE FUN!!!
We would love to see your finished pieces! Please feel free to share photos with us on our social media platforms below.