
Wood Cutting For Wedding Sign

Supplies List
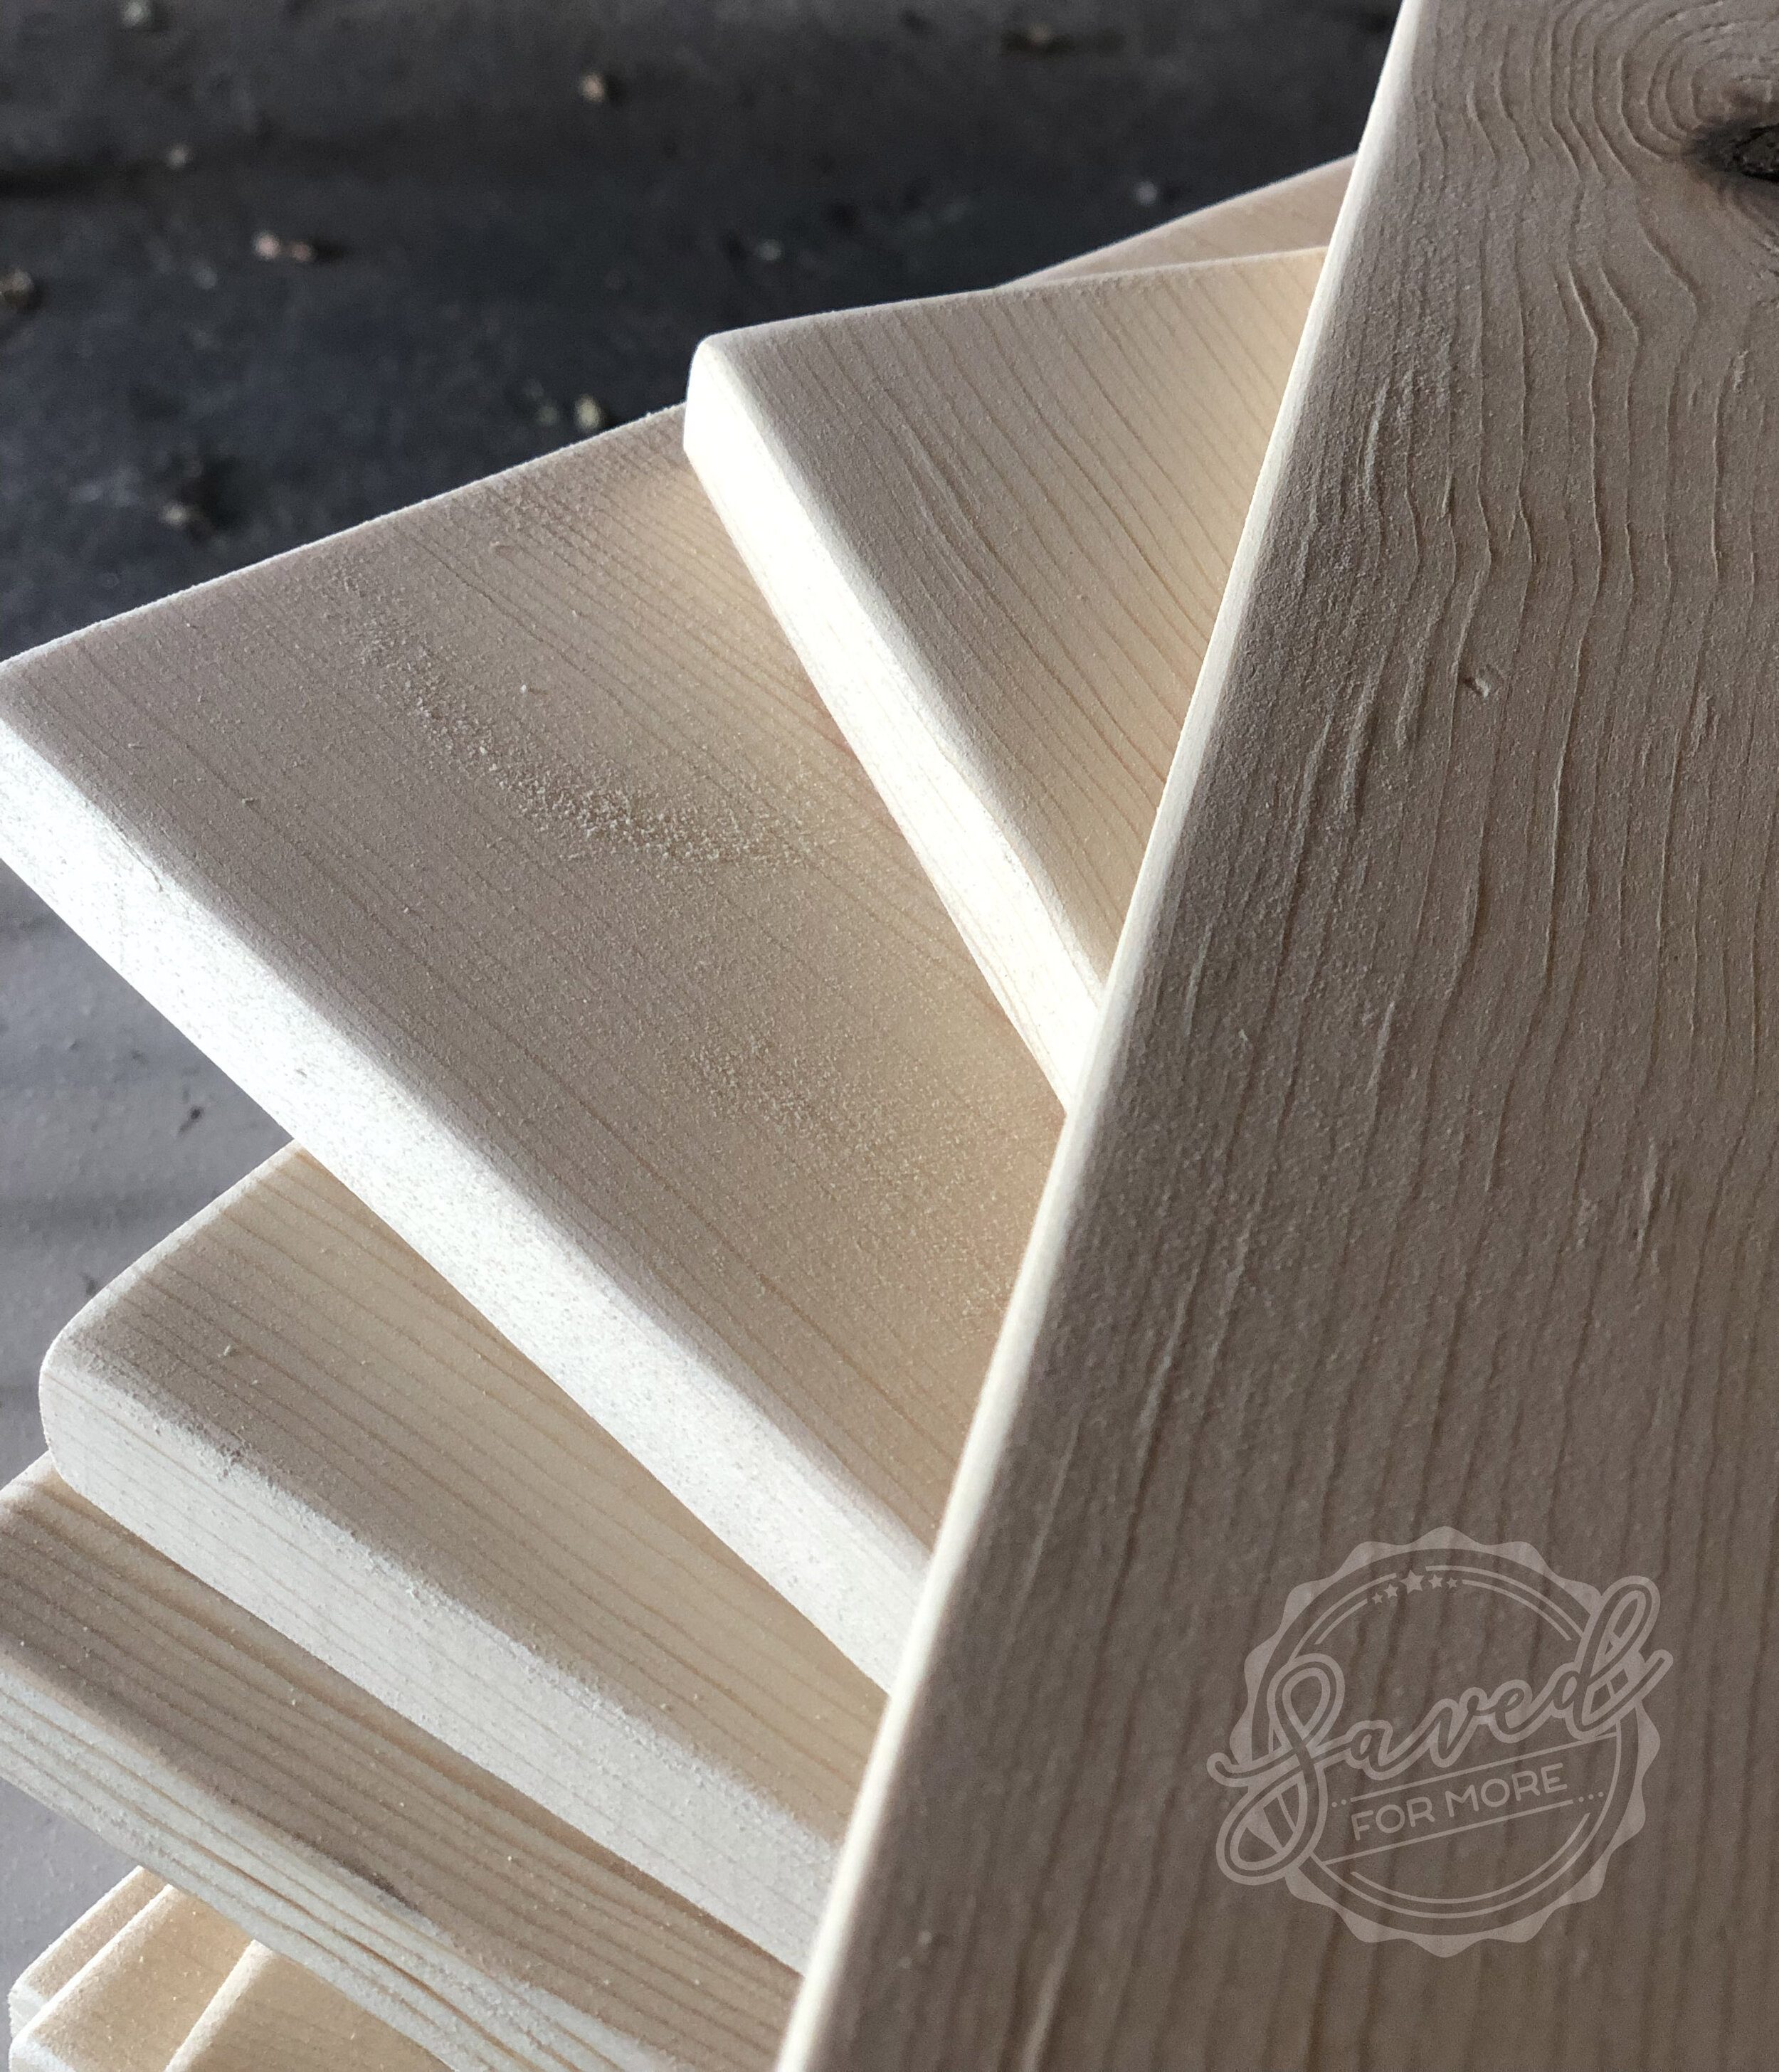
1 x 12 Pine Boards
Miter Saw (or Other Saw for Cutting Lumber)
Orbital Sander (or Sanding Block)
Sand Paper
Tape Measure
Pencil or something to mark length
Affiliate links are included within this post for your convenience and a video tutorial is also posted below for additional help when creating your DIY boards for home decor and more.
Step One
We purchased 8’ lengths of 1 x 12 lumber. They come in smaller lengths if you do not have the space to haul longer pieces. Measure, mark, and cut your lumber into 16” pieces using a Miter Saw. If you do not have a miter saw, you can also use a band saw, a table saw, or a jig saw to cut lumber to length.
Step Two
An orbital sander is our preferred method for sanding the boards. We sand the top and bottom and around all the edges. We then break the sharp edge with the sander to give it a nice smooth edge on all sides. If you do not have an orbital sander, you can use a block sander or belt sander. You can always just use straight sand paper if you do not have a sander. We recommend 80 grit sand paper for this step.
Step Three
Lastly, wipe the boards down with a damp cloth and bring to finishing table to apply stain or our water/paint wash to look like stain without the mess or odor. Here is the tutorial for that:
And there you have it! Simple steps to cut lumber to length for our DIY Wedding Signs. Here is the video to see how to add the words to your signs.
Also, if you create these signs, please feel free to share photos! We would love to see what you have been creating too! Our Social Medium Platforms are listed below for sharing photos.