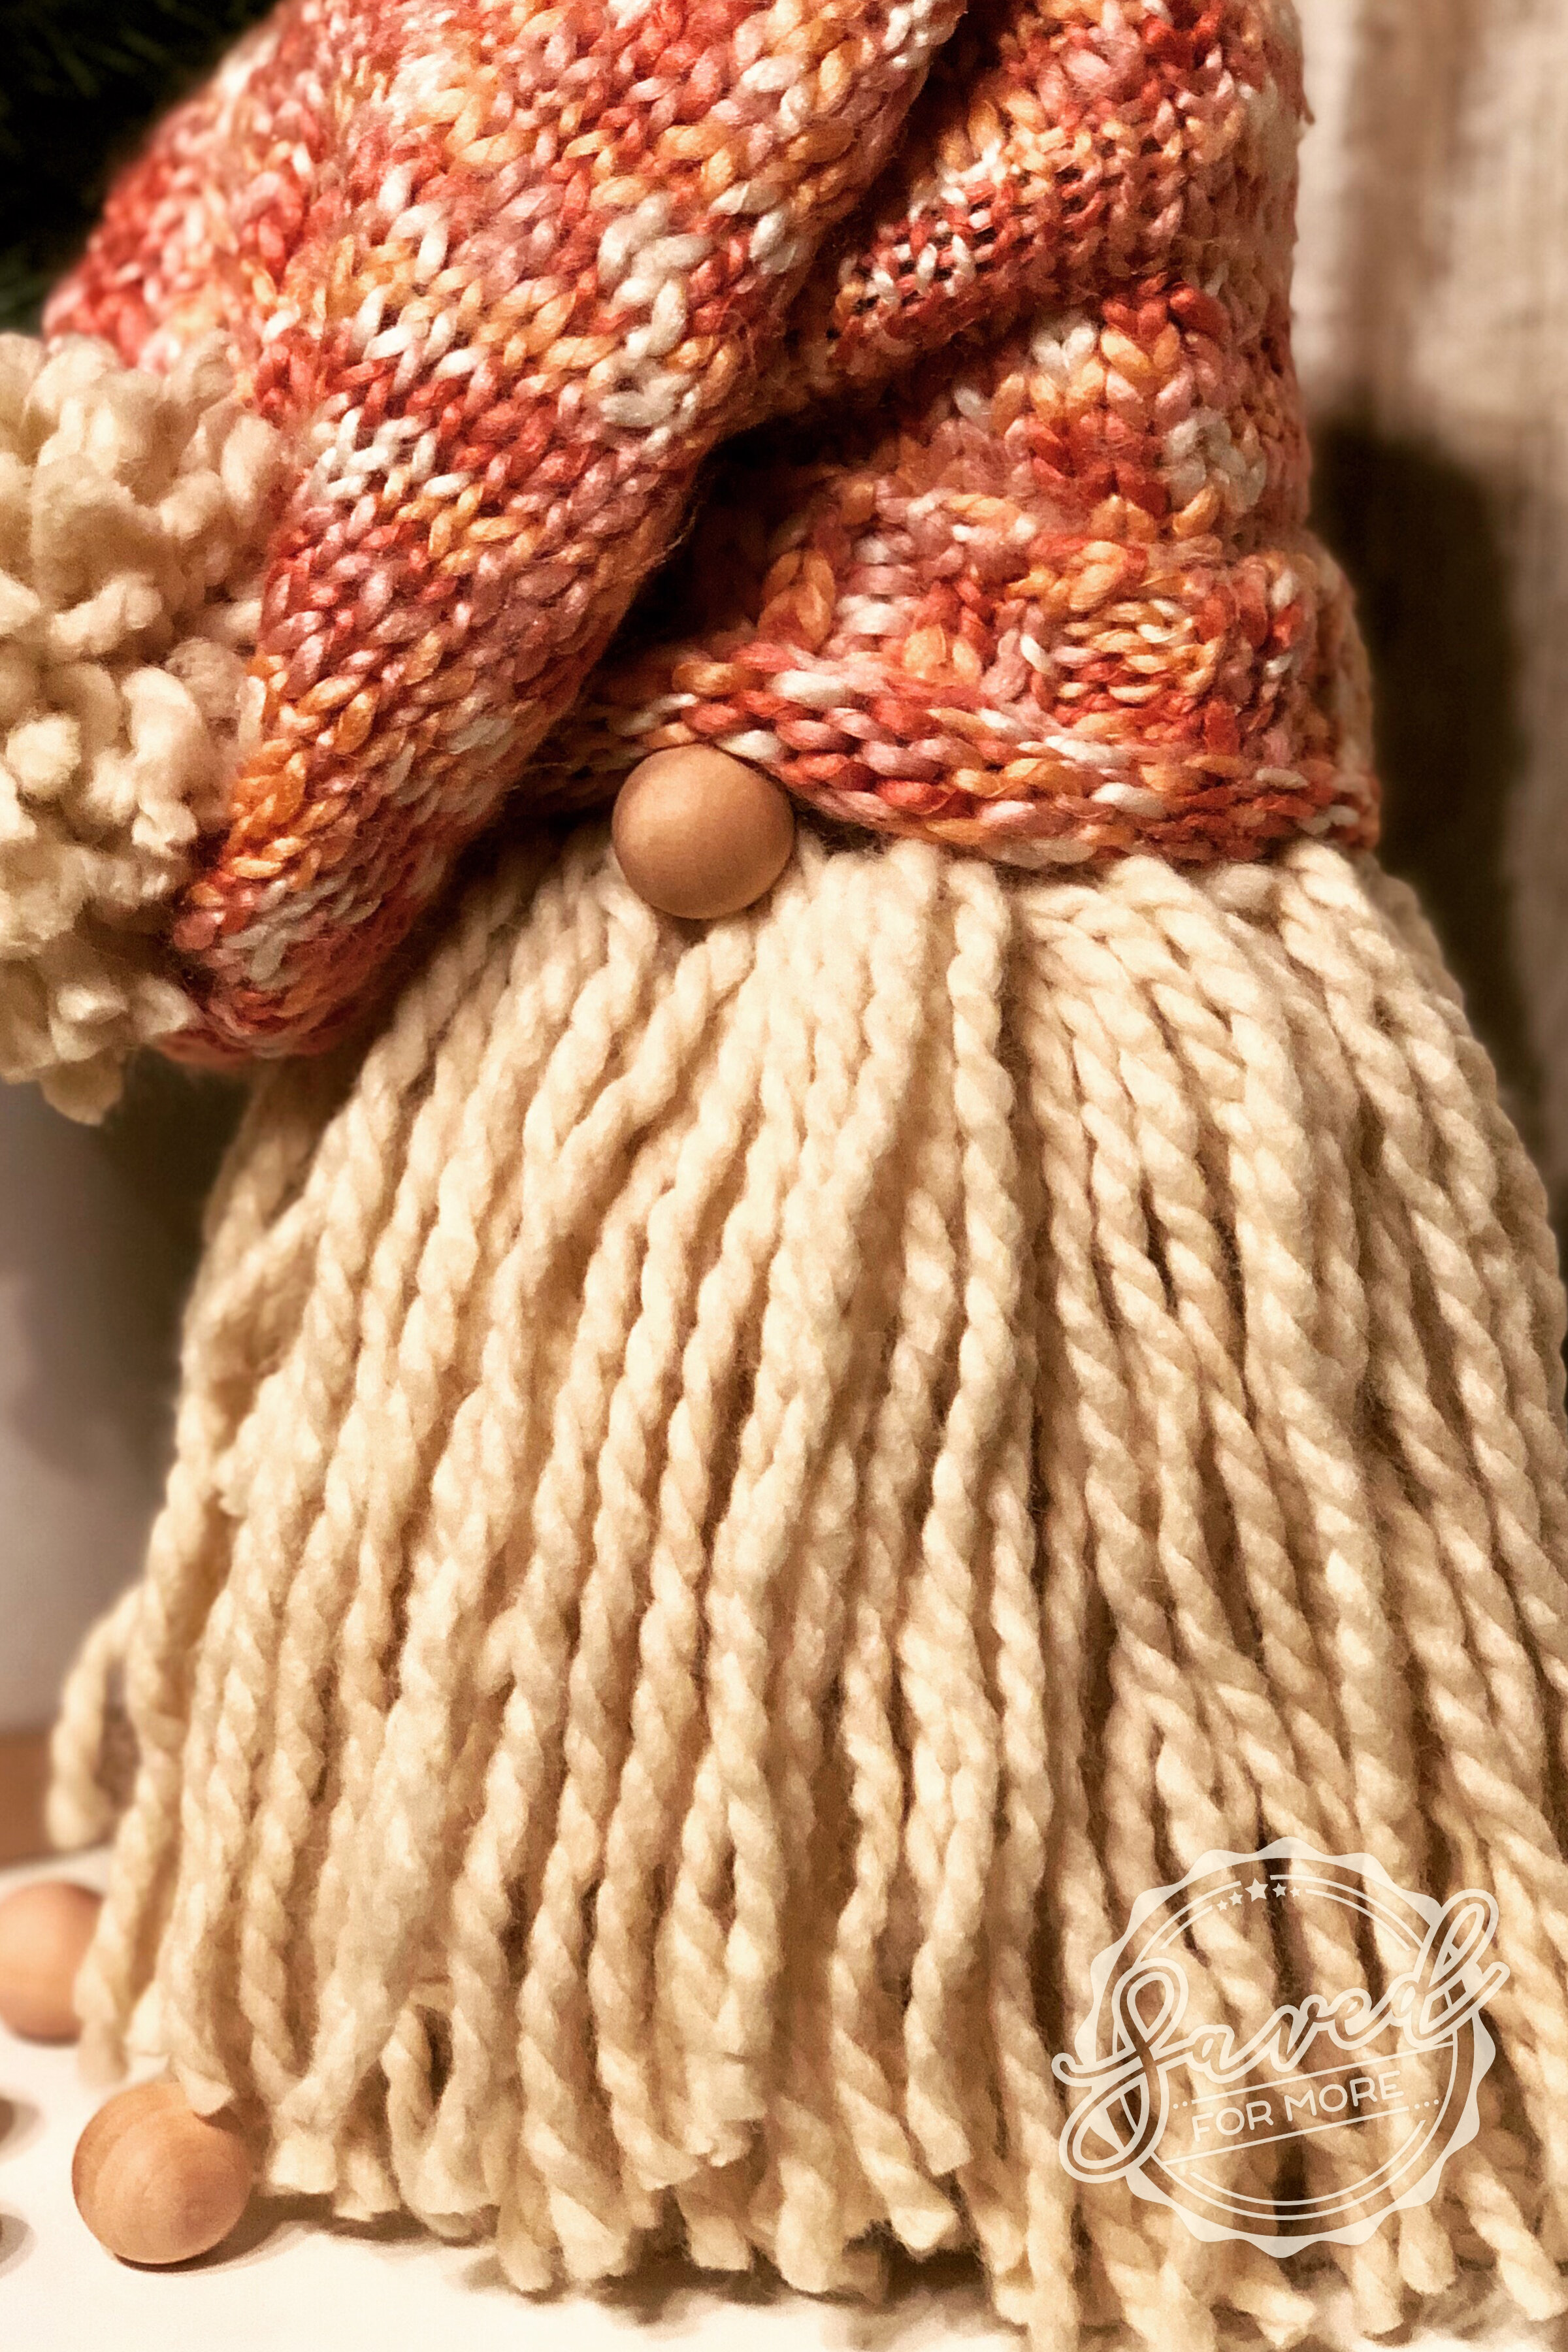
Sweater Gnomes
Supplies List
2 x 4 Wood Block
Yarn OR an old T-Shirt
Scissors
Sweater
Affiliate links are included within this post for your convenience and a video tutorial is also posted below for additional help when creating your gnomes.
Step One
The first thing is to find some wood. For ours, we used a 2” X 4” that was cut down to about 8” long. You can use a longer or shorter piece of wood, depending on how tall you want your gnome to be. We then painted about half way up the board to match the color of the T-Shirt/String we used. We did this so the wood wouldn’t show through on our t-shirt gnomes but it may not be necessary, depending on how thick you make the beard.
Step Two
While the paint is drying, you can make the beard. There are multiple ways you can do this, but I will show you two ways to do it here. The first one is made using some yarn, and the second was made by cutting an old T-shirt. We have also made them with the strings from a mop that you can get at the Dollar Tree or any kind of string, rope, or cording.
To make the beard from yarn, you will want to find an old piece of lumber or a book, about 5-6” wide. Start by placing one string (10-12” long) down on that board or book. Then begin wrapping your yarn (in the opposite direction as the first piece of yarn) around the board/book about 12 - 15 times. Next you will tie the single piece of yarn in a knot, around the other strands, holding them all together. Then pull the yarn off the block and cut all of the strands on the opposite end of the tie. You will want to make 3 of these yarn bundles for the face of the gnome, one for each side, and three on the back if you so desire. After getting all of them made, you can hot glue them to the 2 x 4 so the bottom of the string goes just past the bottom of the board.
To make the beard from a T-shirt, the first thing you want to do is lay the shirt out flat. Then, cut the shirt 4 - 6 Inches from the bottom of the hem (depending on desired beard length) all the way around the shirt. Then cut one side open so you have one long piece of t-shirt that has a hem all the way across the bottom. Once you have that piece, lay it out flat again and make a cut about every inch along the opposite side of the hem. Make the cuts about an inch long, and then rip them the rest of the way, all the way up to the hem. This will be your beard for the t-shirt gnome. Lastly, wrap it around the wood block, making sure to hot glue it every so often to keep it secure.
Step Three
The next step is to create a hat for your gnome. For the pink gnome above, we used the sleeve of an old sweater. Cut the sleeve about 12” from the cuff (or longer if you want the gnome to have a longer hat). Then, turn the sleeve inside out, and tie it off on the opposite end from the cuff and turn the sleeve right side out again. You can use it as the hat just like this, or you can add a puff ball to the end. To make a puff ball, just create it like you did the yarn beard with these small adjustments: add more yarn to make it thicker and wrap it around something smaller so the puff ball is shorter then the strands of the beard were. To finish the hat, fold the cuff of the sweater a few times, slide it on the top of the gnome, and hot glue it to the board and beard.
Step Four
The last step is to add a cute little nose. We used these wood beads, but you can get creative with it. You can use drawer pulls or puff balls or even layer buttons! All you have to do is hot glue whatever you choose to use for a nose just below the folded end of the hat.
And that’s it! You now have yourself a handmade and adorable gnome. We would love to see what you have been working on, so send us your gnome photos on any of our social media platforms.


