
T-Shirt Pumpkins

These t-shirt pumpkins are a super fun, easy, and inexpensive way to spruce up your fall decor and all you need is an old t-shirt and a pair of scissors!
This post contains some affiliate links for your crafting convenience.
TO GET STARTED YOU WILL NEED:
An old t-shirt
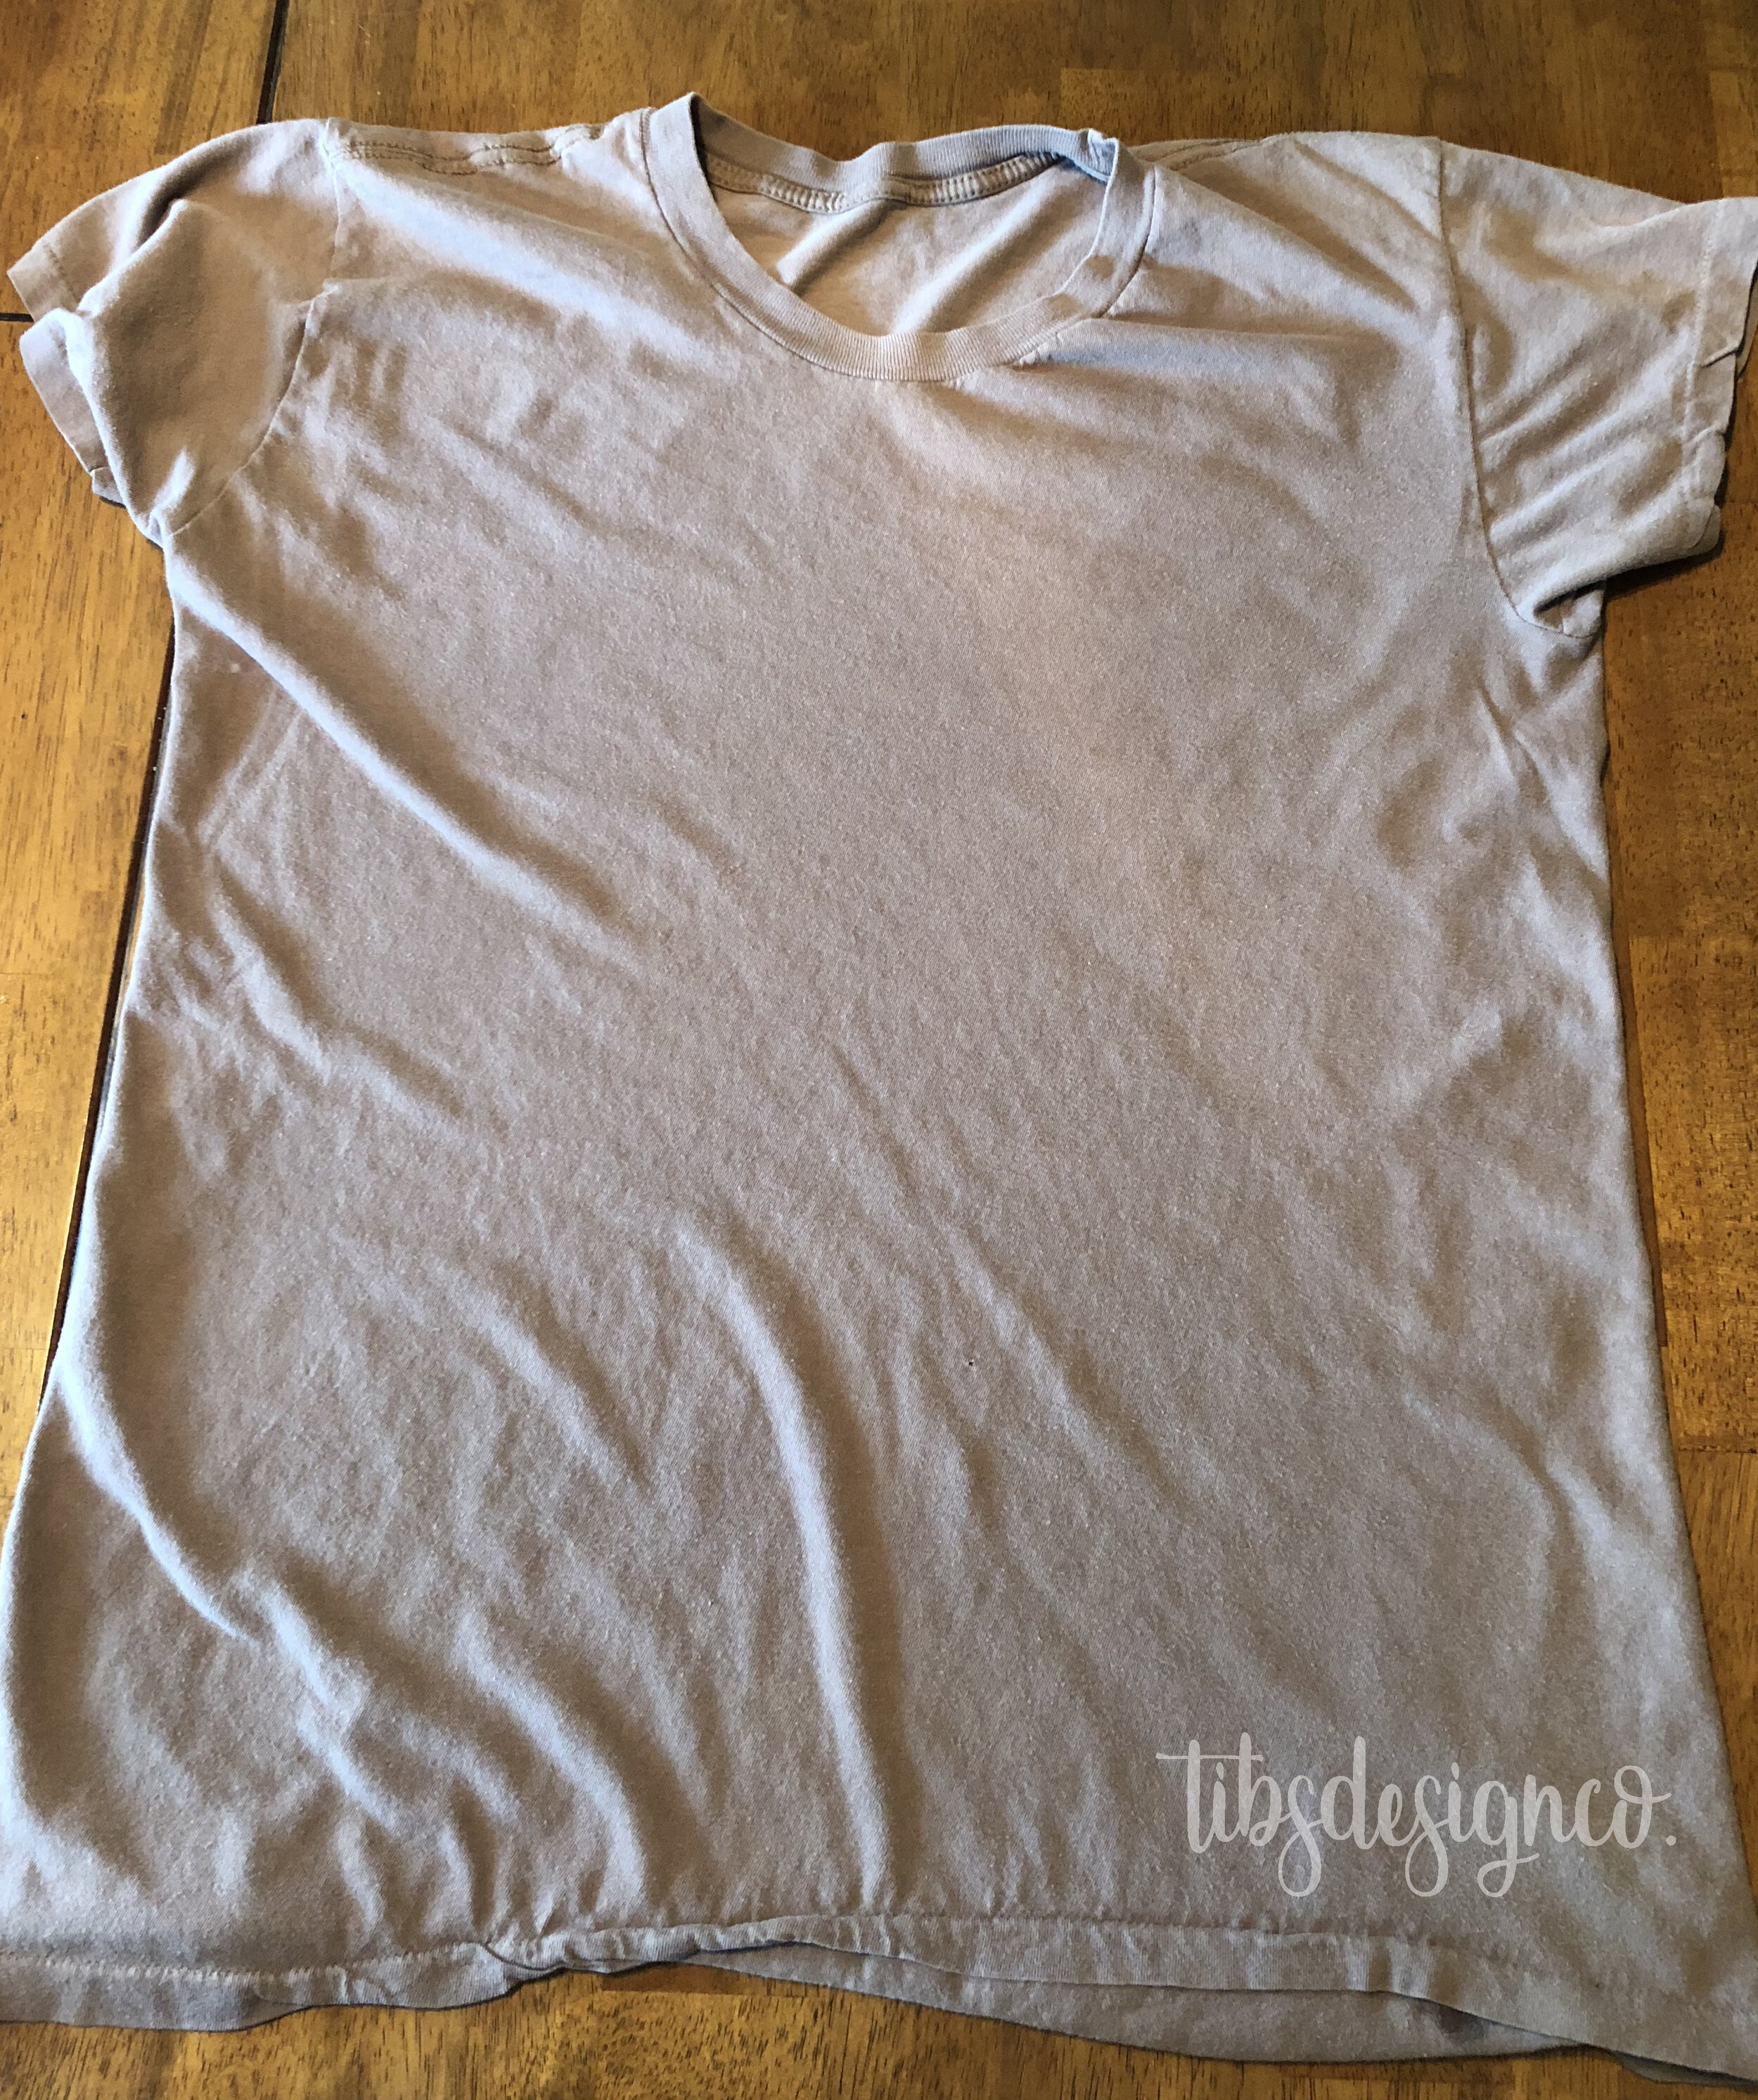
Be sure there is no side seem in the t-shirt, that it is a continuous piece of fabric around the center section (below the sleeves).
Also, you will want to look for t-shirts that have less writing on them. It is pretty easy to hide small amounts of ink/transfers at the start of the pumpkin but if you don’t want the t-shirt design to show on the finished pumpkin, pick t-shirts without as much.
HOWEVER, if you want the ink and wording from your t-shirts to be a part of the design, then go to town … glam it up … ink ’em … or go for more of a distressed look … BE CREATIVE!!!
Supplies you will need:
Stick/Twig for stem (cut to desired length)
Supplies used but not necessarily needed:
LETS GET STARTED!
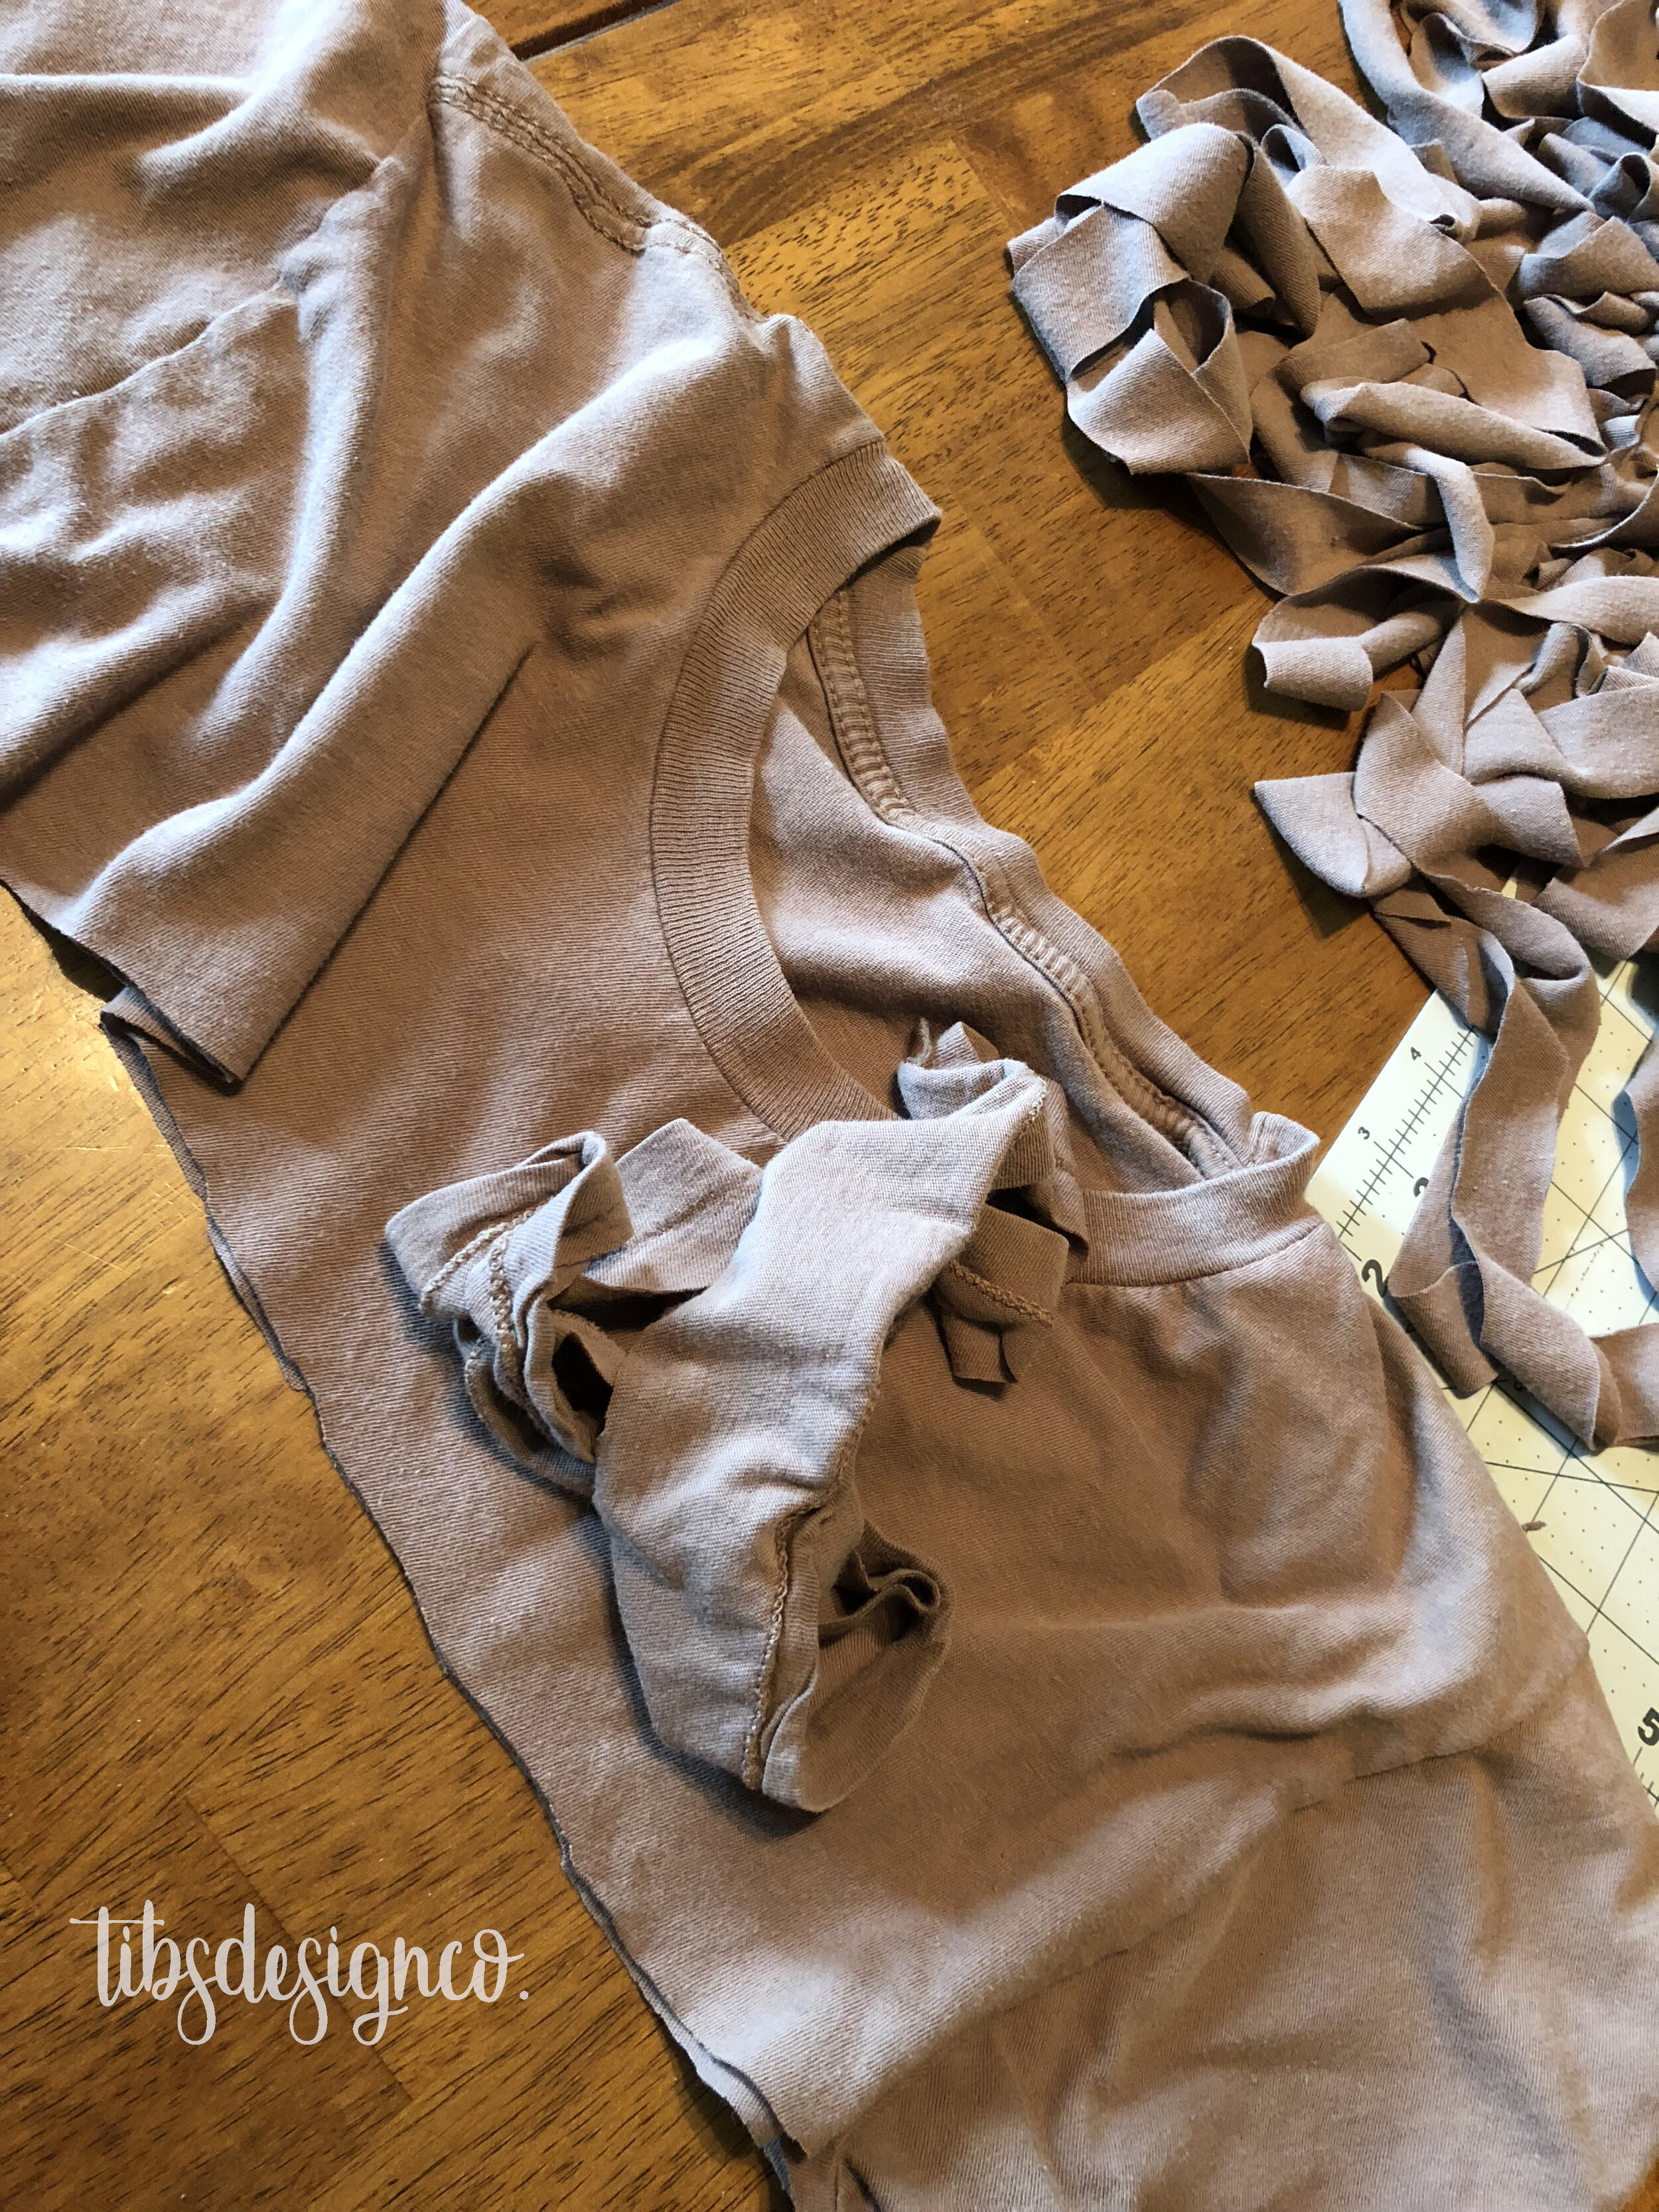
Cut the t-shirt horizontally under the arms, and then again at the bottom of the t-shirt, cutting off the bottom hem. Save the top of the t-shirt (sleeves and neckline) and bottom hem for now, they will become the stuffing in the pumpkin later.
Then fold the midsection over. Not quite in half, as you can see in the photo, you will want the fold to leave about an inch at the top that is not overlapped.
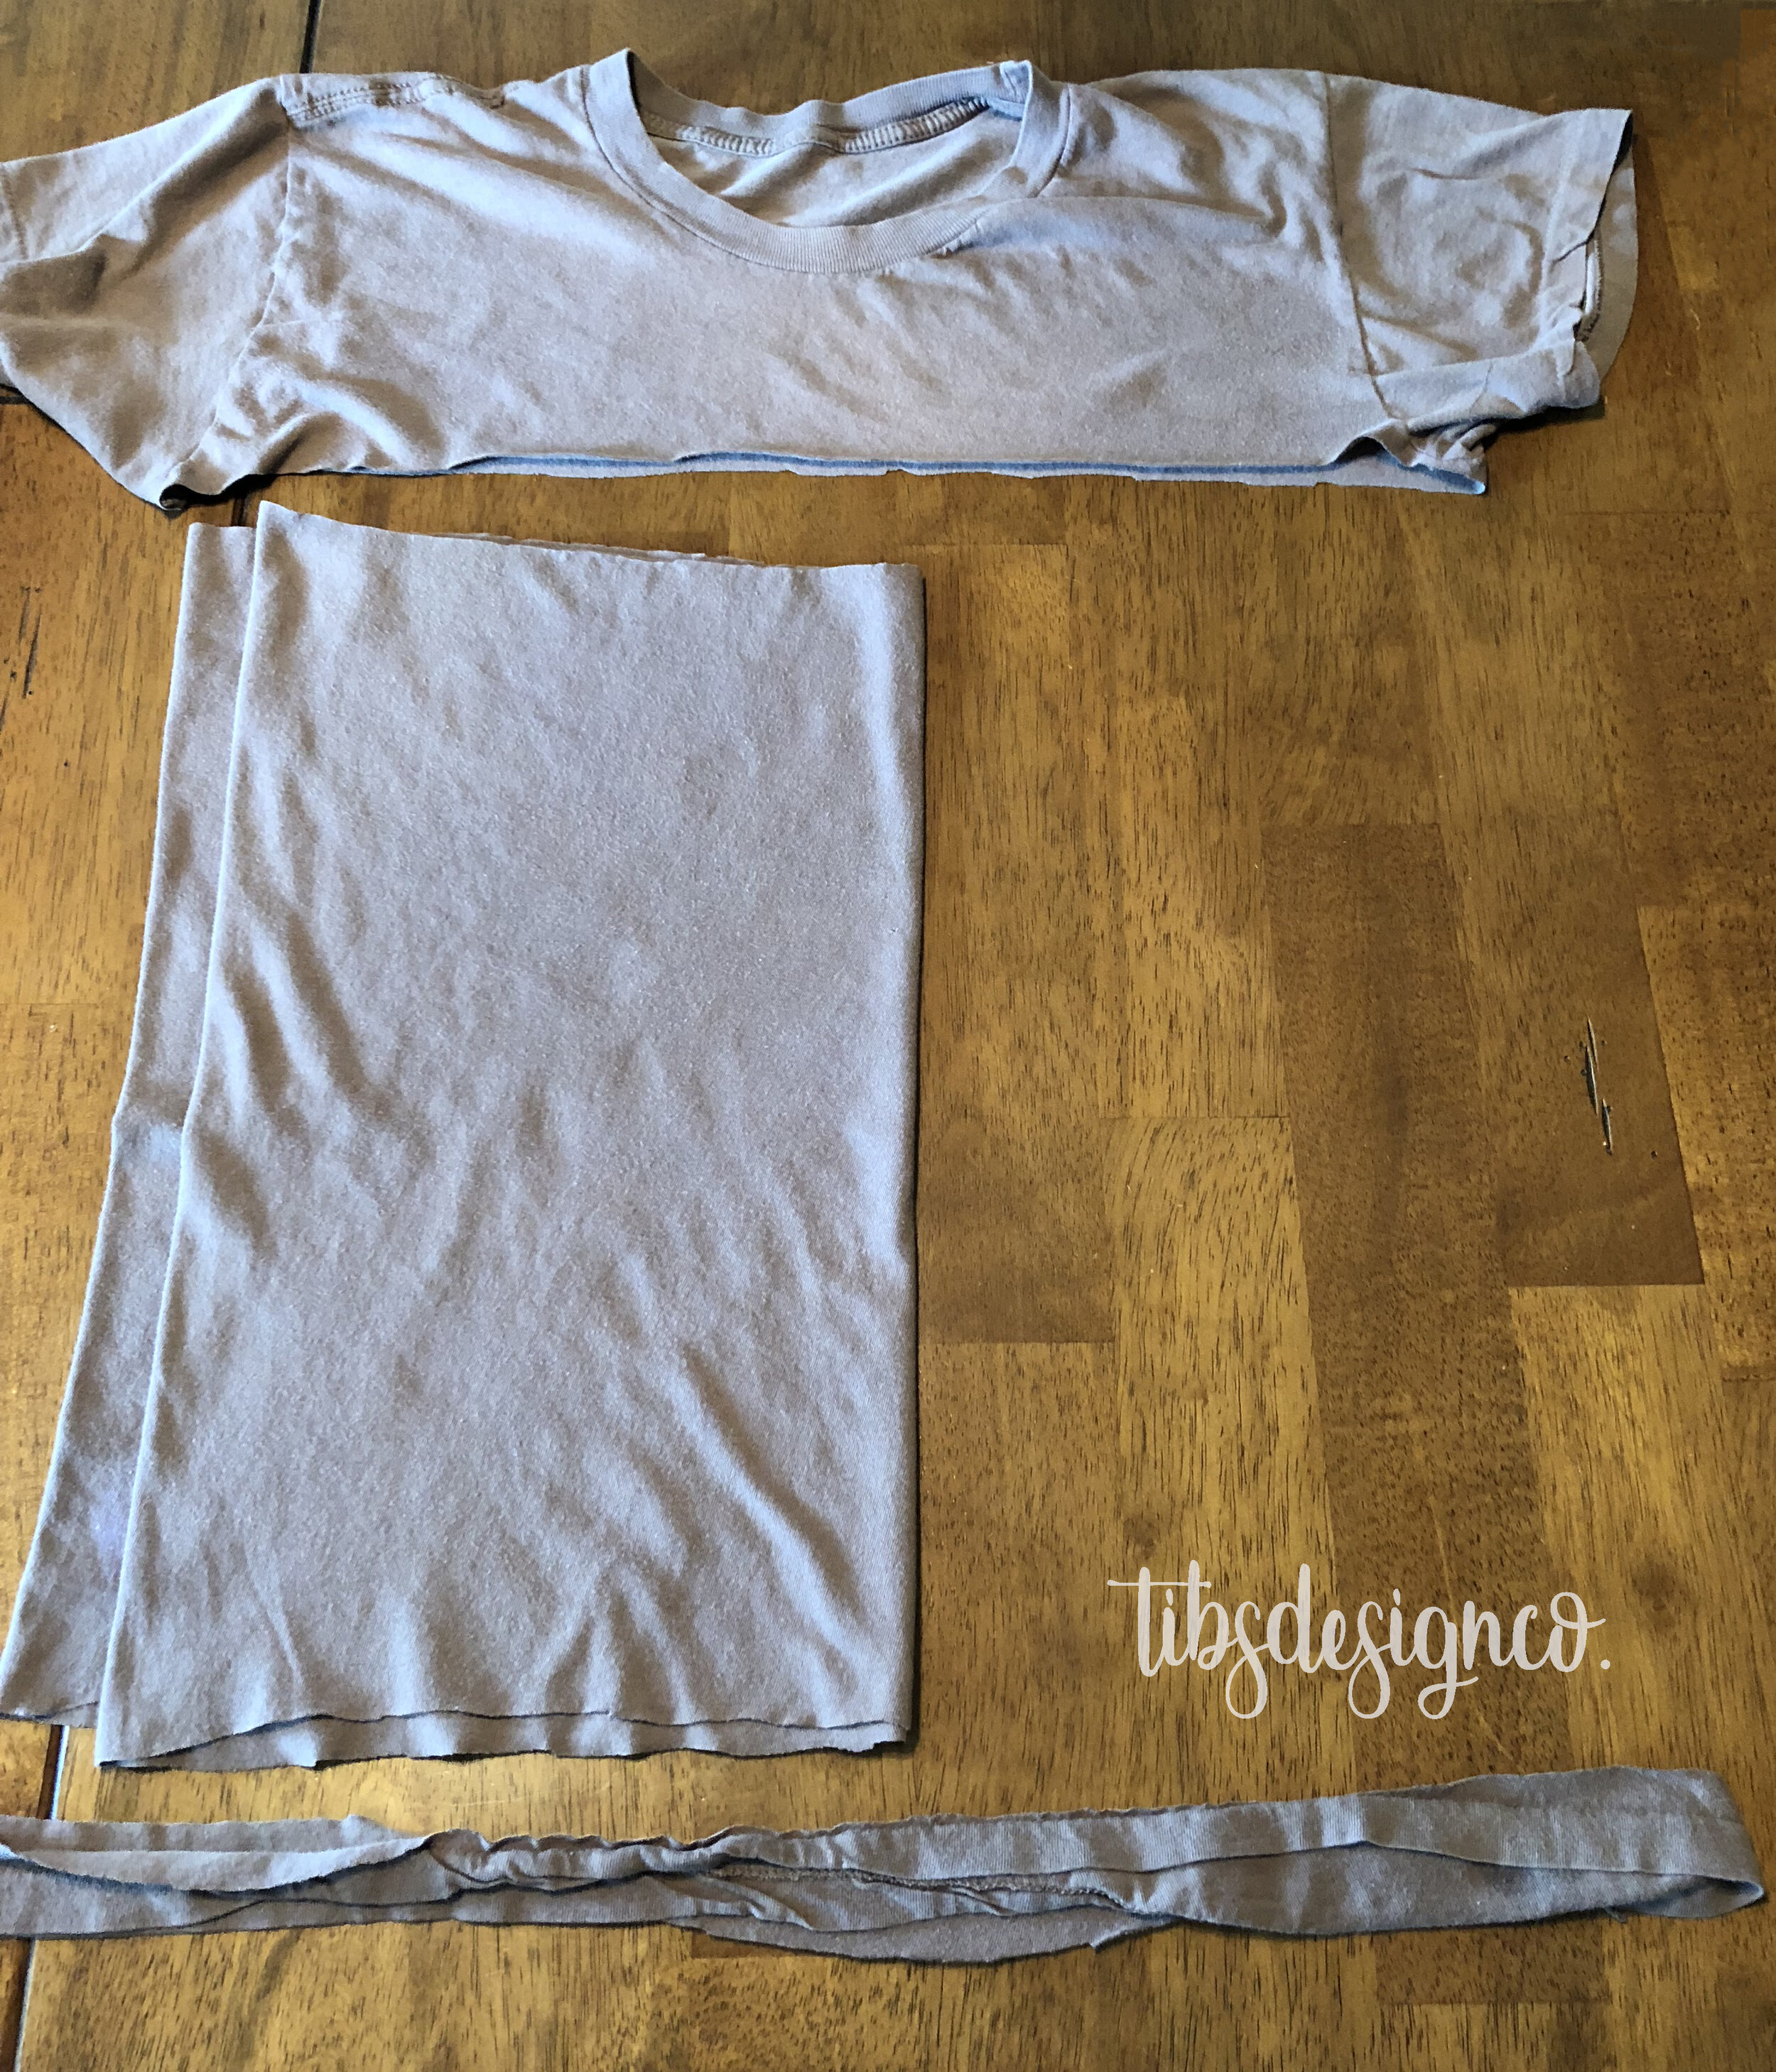
Once folded in half, cut the end off so your next cuts will start with a nice straight line. (Again, do not throw that piece away, it makes good stuffing for your pumpkin)

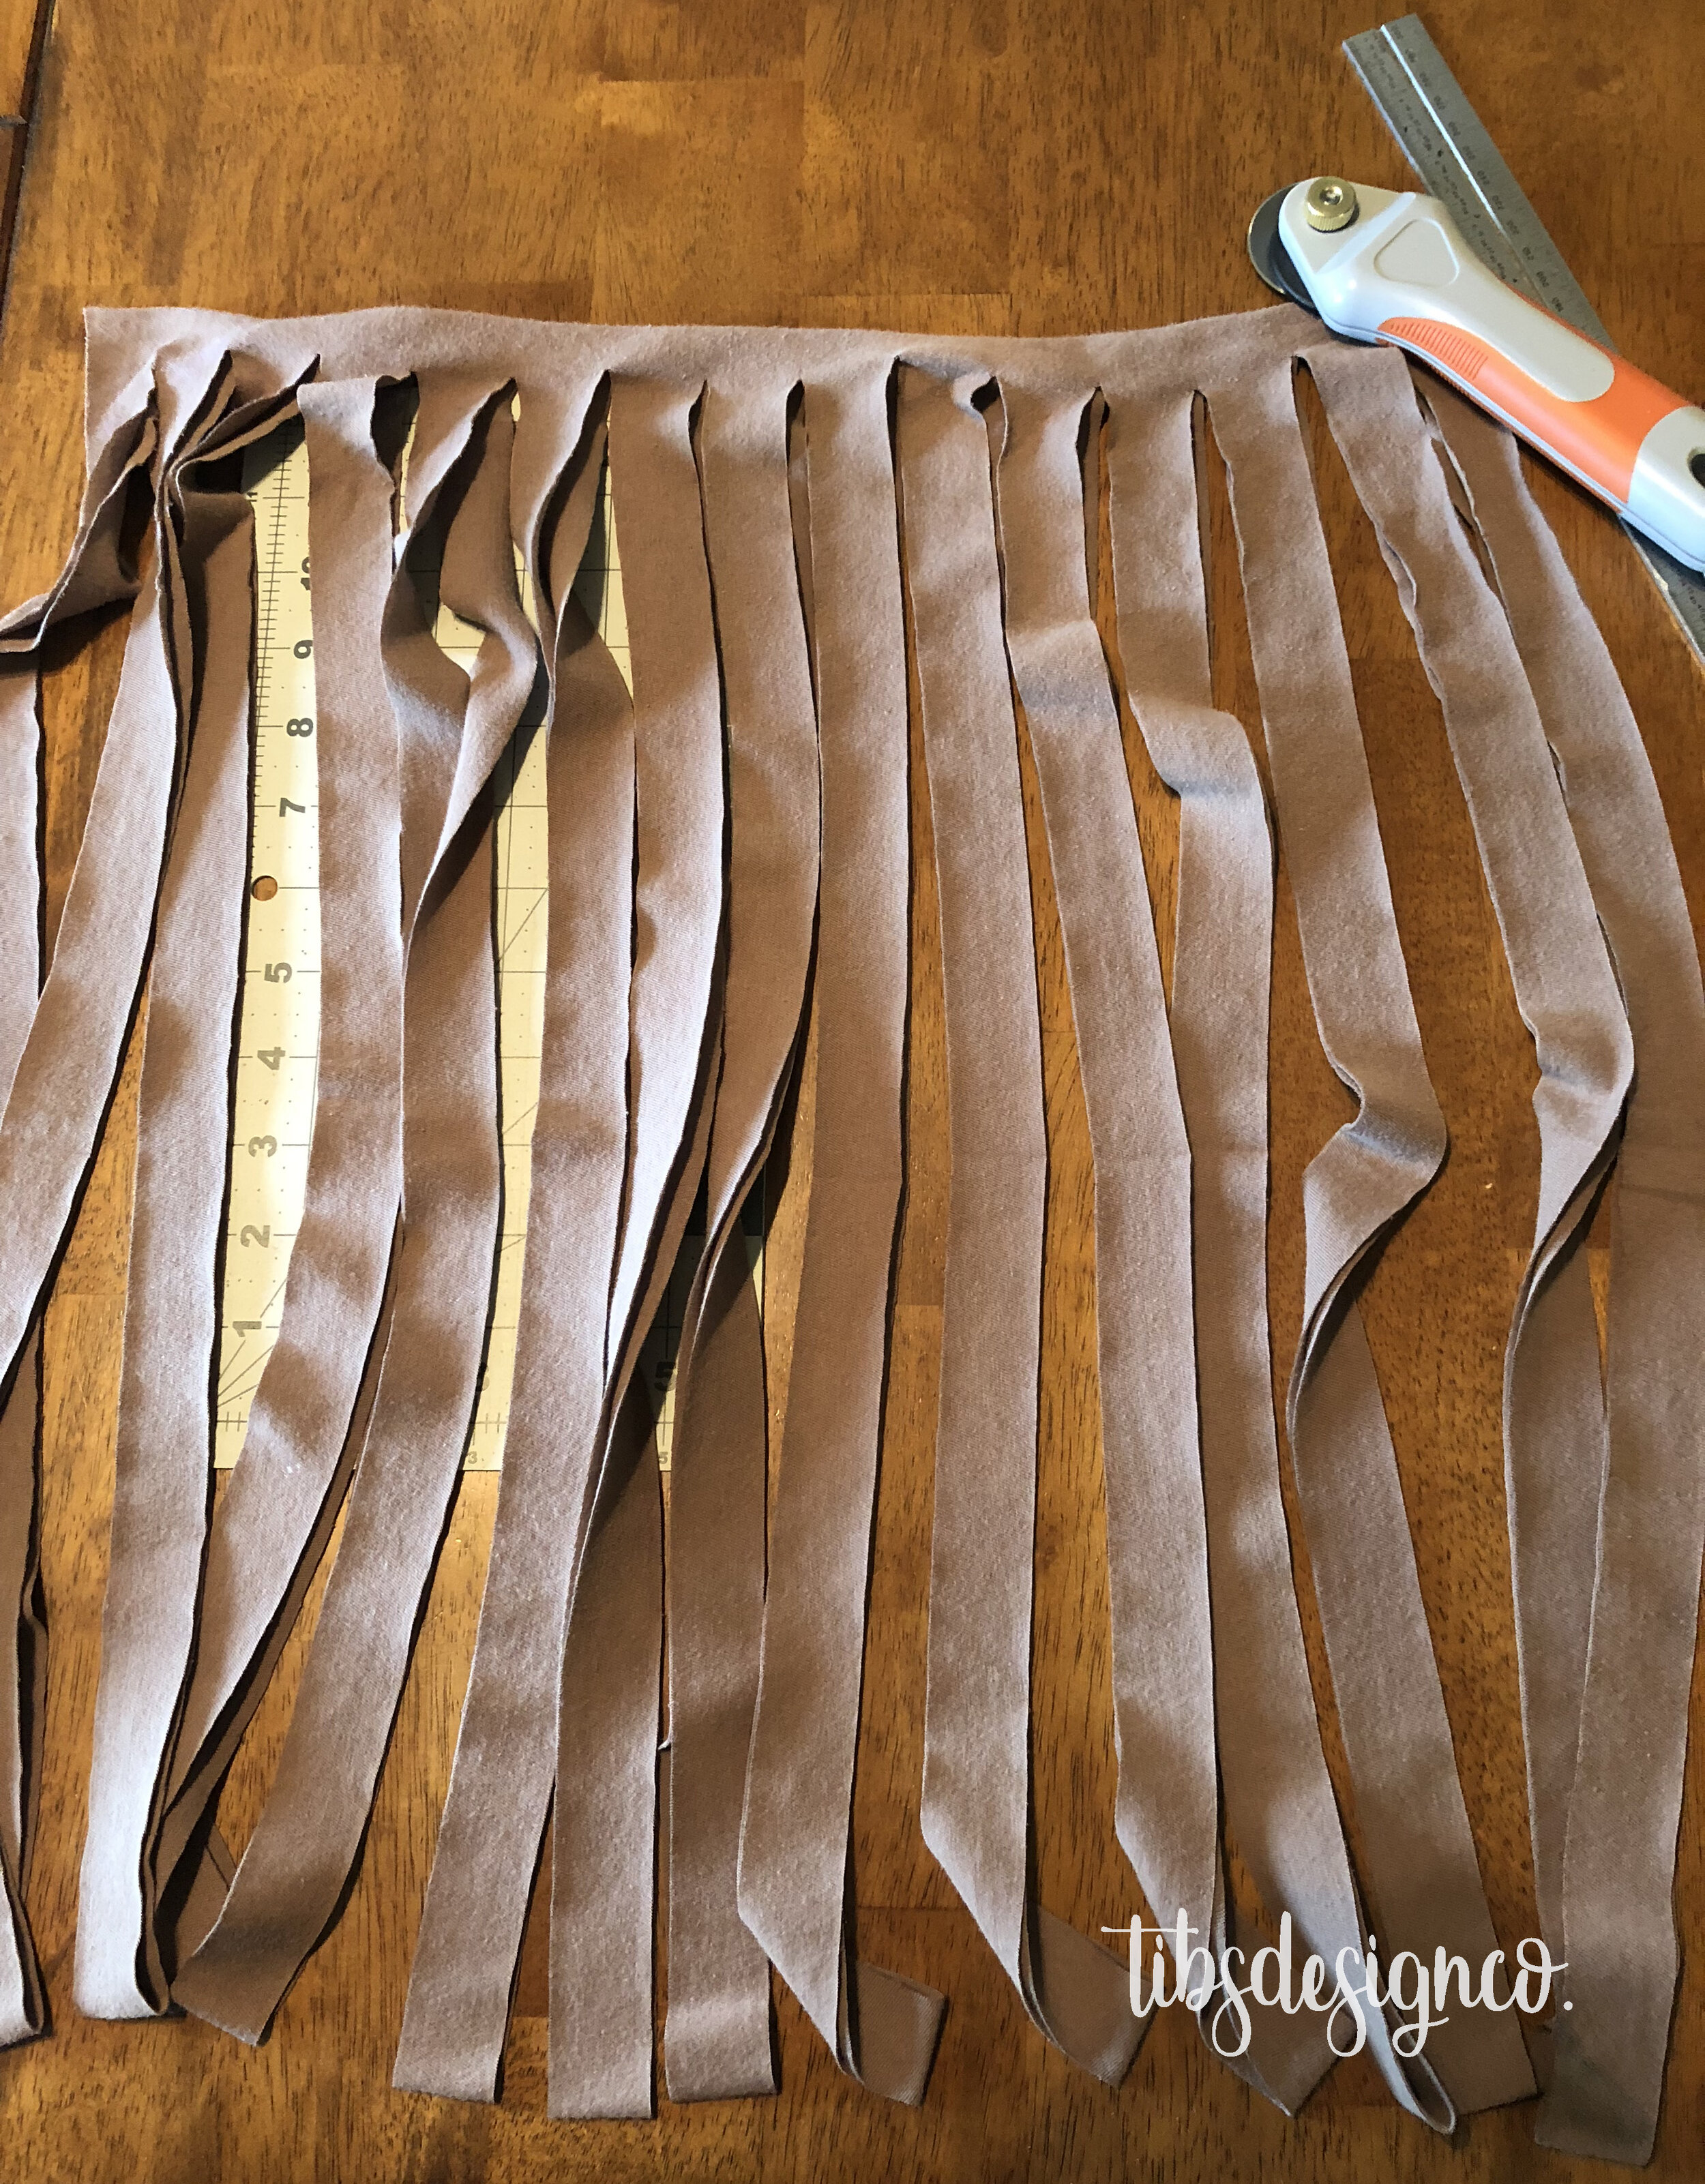
Use your ruler and rotary cutter to cut strips appx 1″ wide all the way across. Be sure NOT to cut all the way to the top of each row, this is how you will make it all one continuous strip of fabric to wrap the pumpkin.
If you do not have a rotary cutter, scissors will work just fine for this process too. If you don’t have a ruler, that is no problem either! Just eyeball the strips and it will be great! Honestly, it really won’t show once you stretch the fabric around the pumpkin. These tools just save some time if you are doing more than one and for illustration purposes!


Once you have the fabric cut all the way across, open up the fold.
Then, put your hand through the center of the strip of fabric and this is where the magic happens!!
For your first cut, slide your scissors inside the first slot and angle your scissors from that point to the outside of the piece of fabric. This will make the first cut and be the very start of your t-shirt fabric strand.
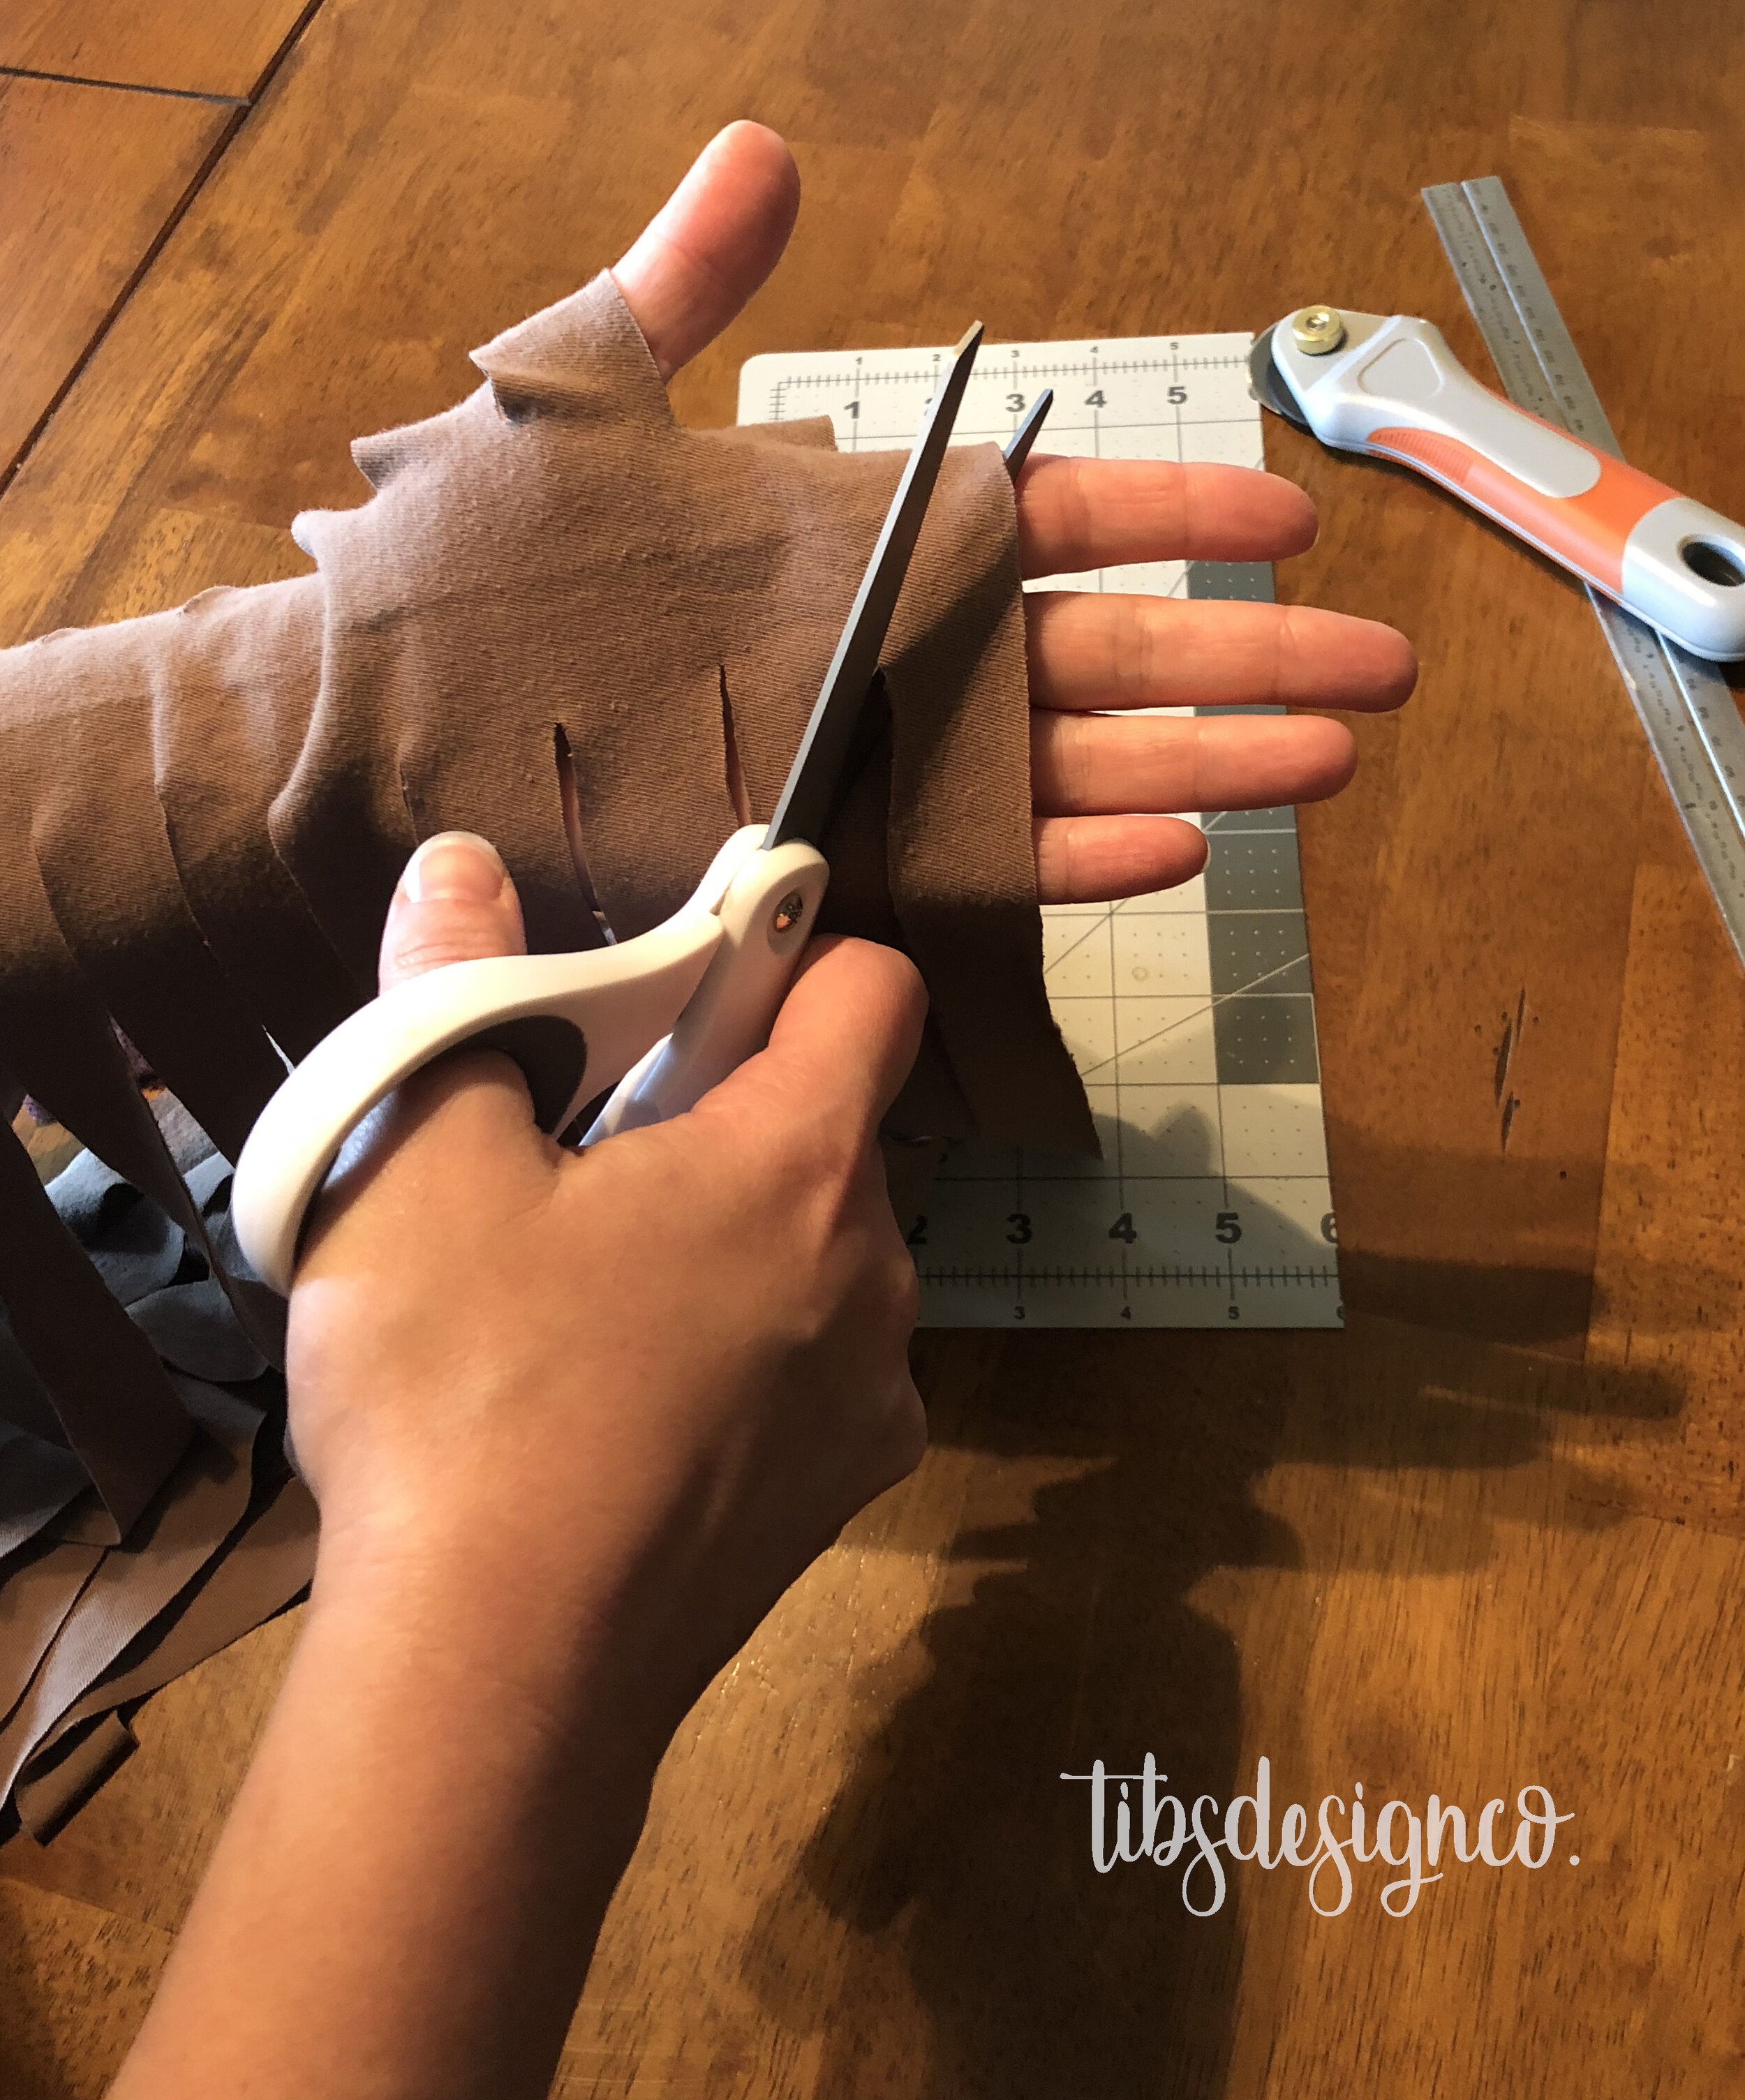
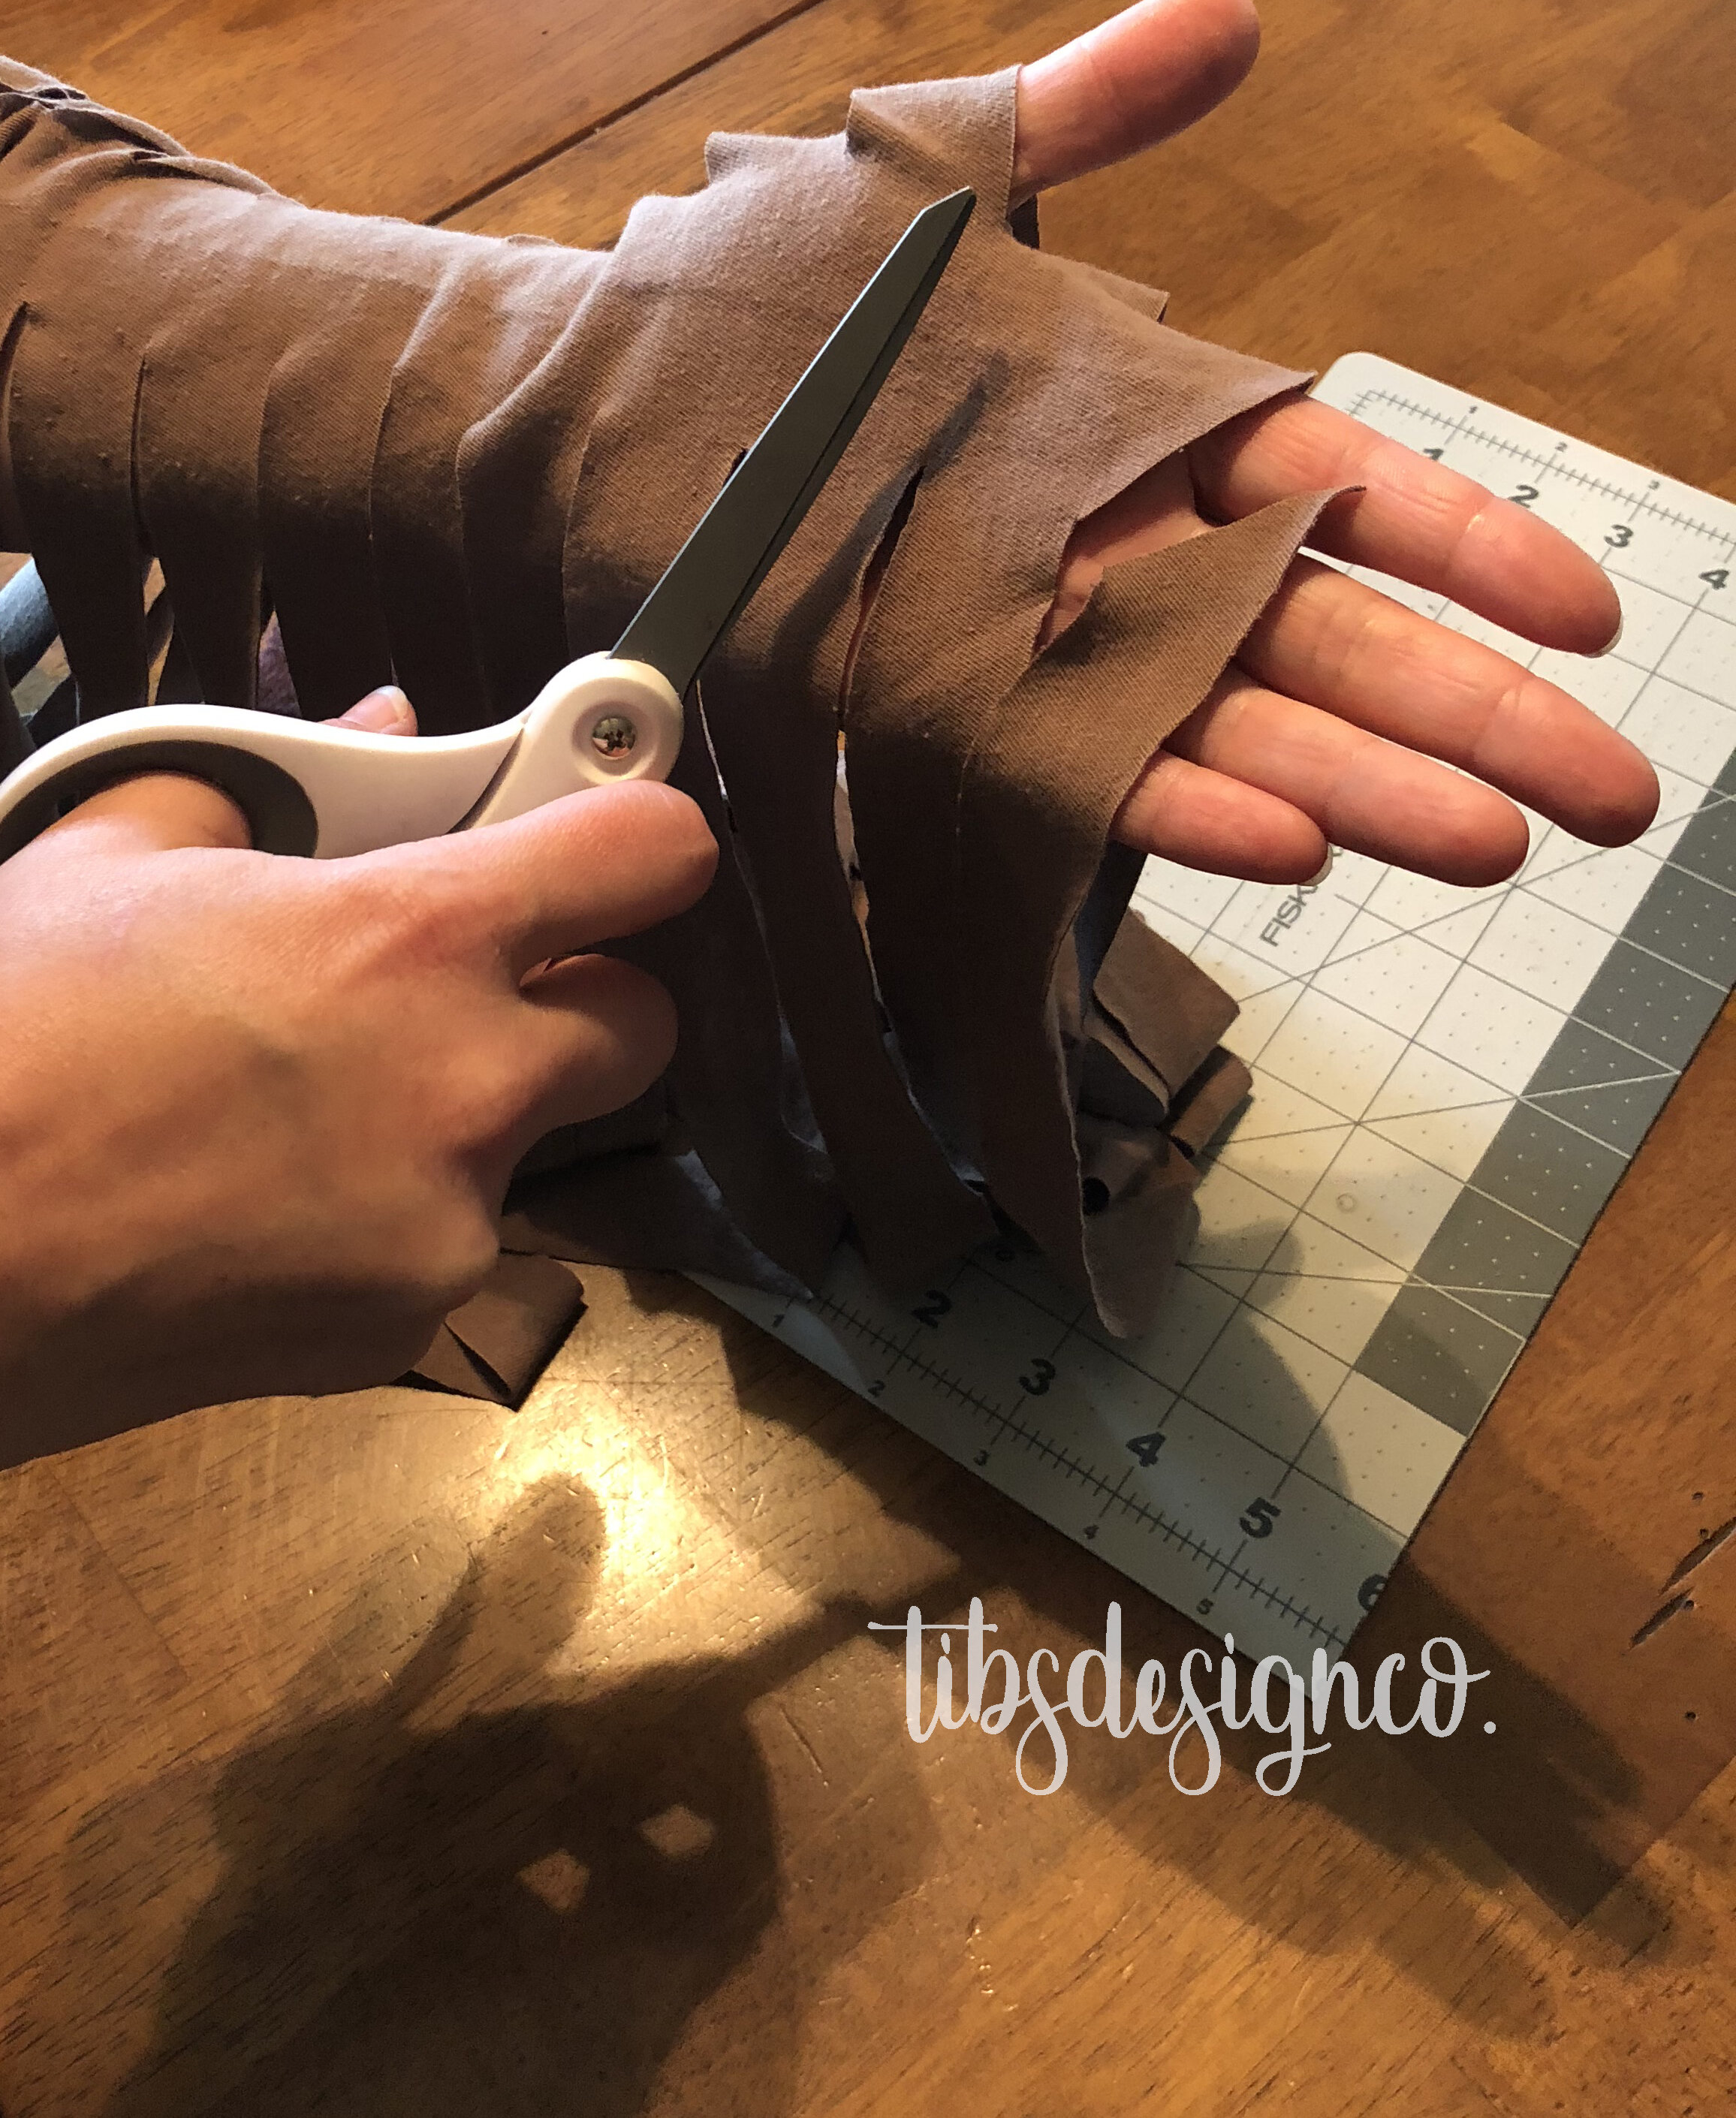
Then continue this process all the way down, making sure you are going from one opening to the opposite opening on the other side. It will be angle cuts all the way across. When you come to the end, cut it just like we did in the beginning (only opposite), from the end into the first slot.


And you did it!!! One single continuous strand of fabric to wrap your pumpkin with!!

ON TO THE PUMPKIN WRAPPING!
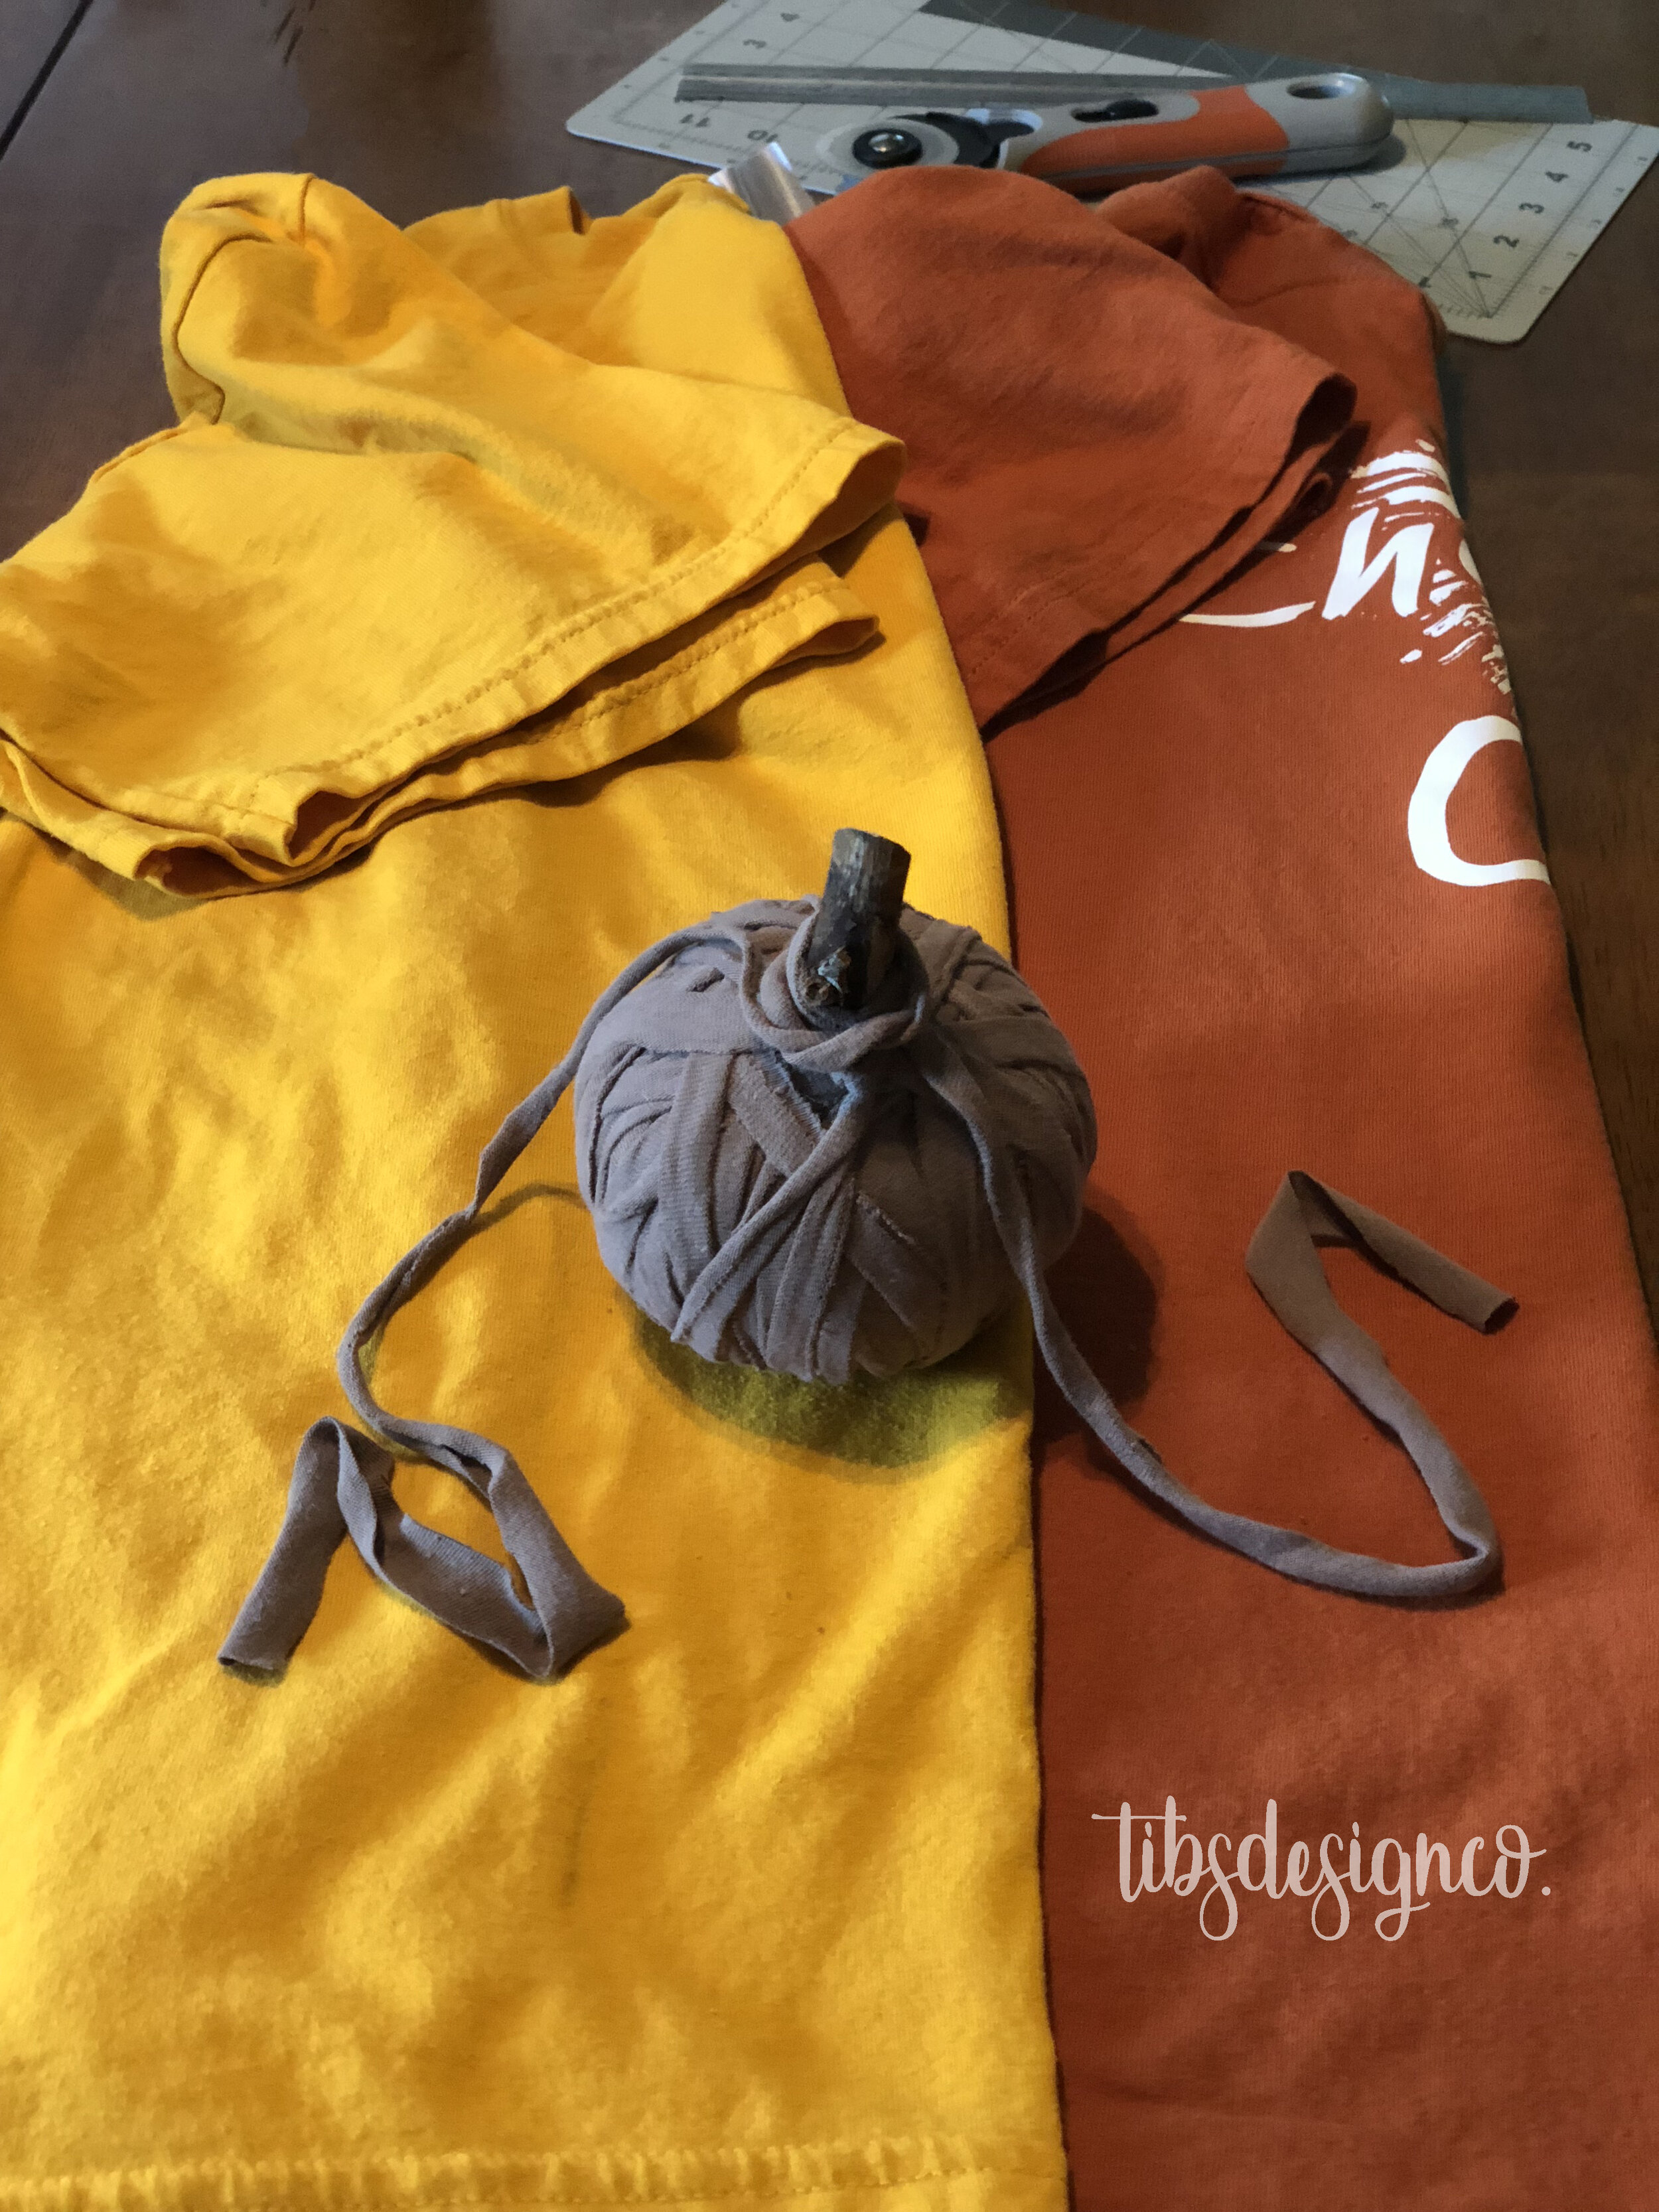
Pull out those first pieces that we cut off and roll them up. You can fold them neatly or you can just make a ball then go for it!! Hold your string down and start wrapping in a circular motion all the way around the bundle of scraps. Make it looser to start and you can tighten up where you want to create the indents that would be in a pumpkin naturally.
Combine a couple t-shirts to create a taller pumpkin. Use only half of the materials to make smaller pumpkins. The sky is the limit!


When you get to the end of your fabric strand, just tuck it under, do it a couple of times to make sure it stays.

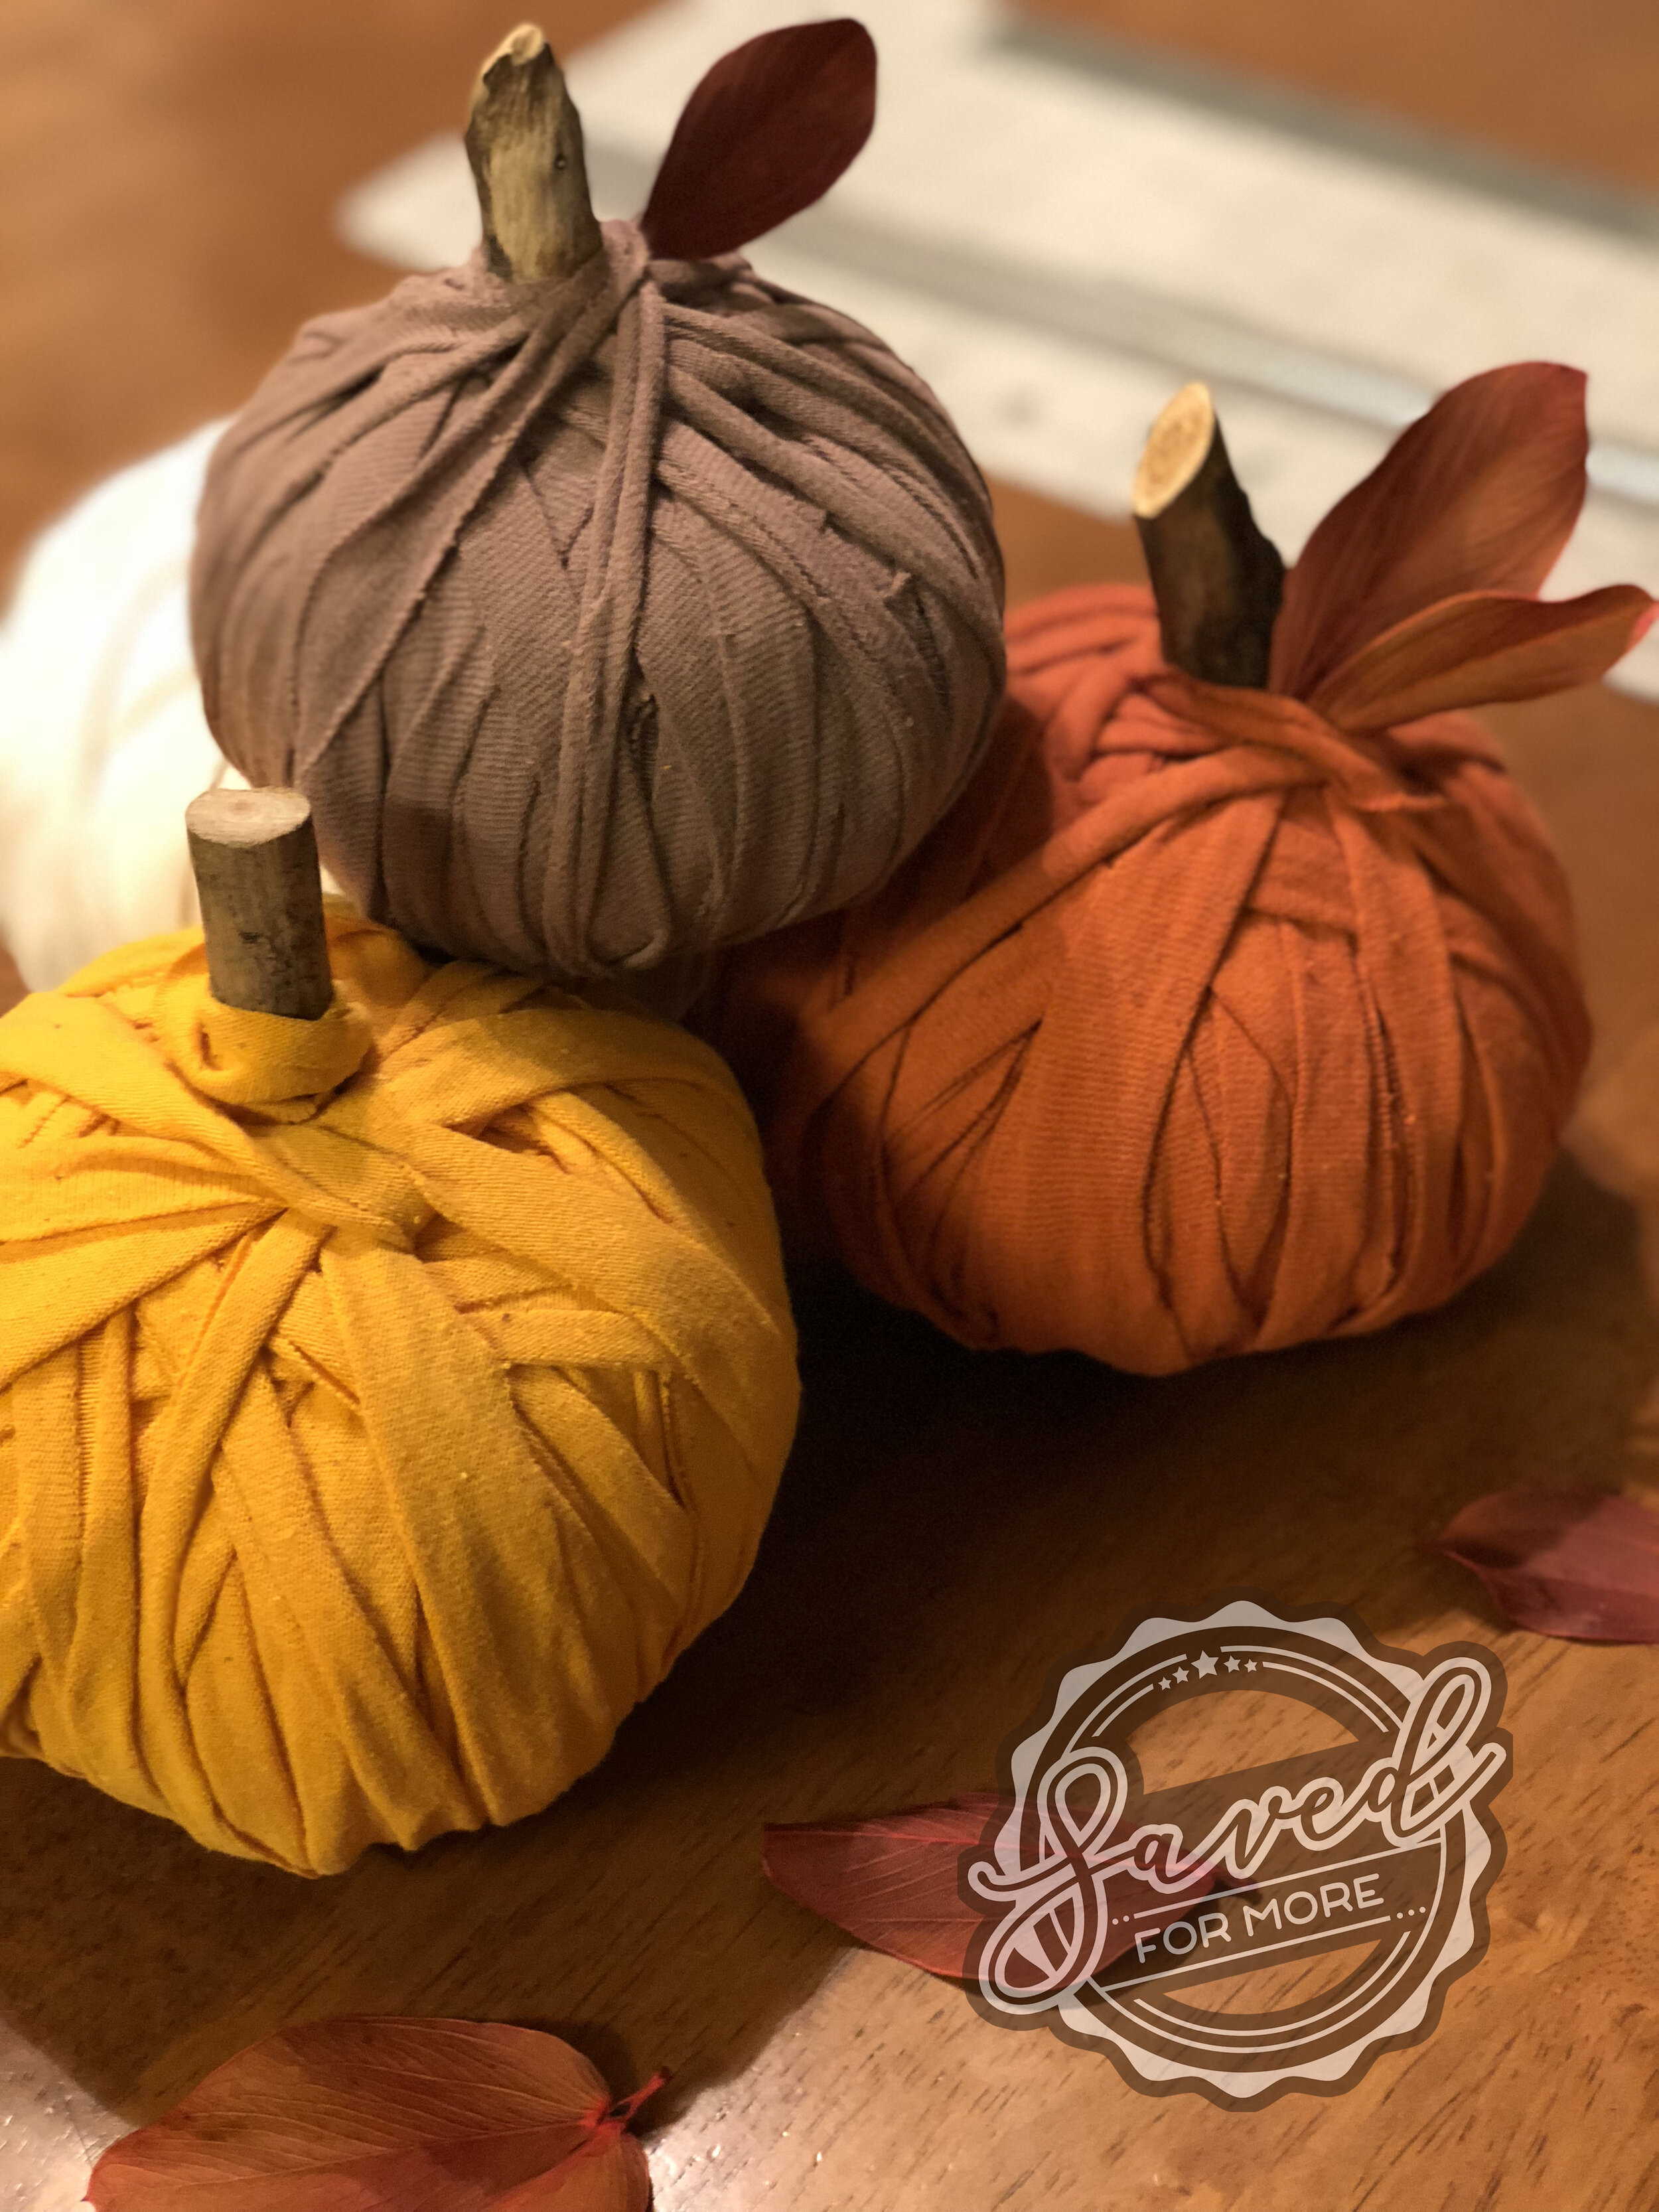
Use different color t-shirts or tie dye white and light colored t-shirts to match a room or color palette you want to decorate.
Hot glue the twigs/stems to the top for added character. Add leaves or twine, whatever fits your style.


Most importantly, have fun with it!!! And don’t forget to send us photos of your projects!
Happy Crafting!!!