
Joy Sign

Supplies List
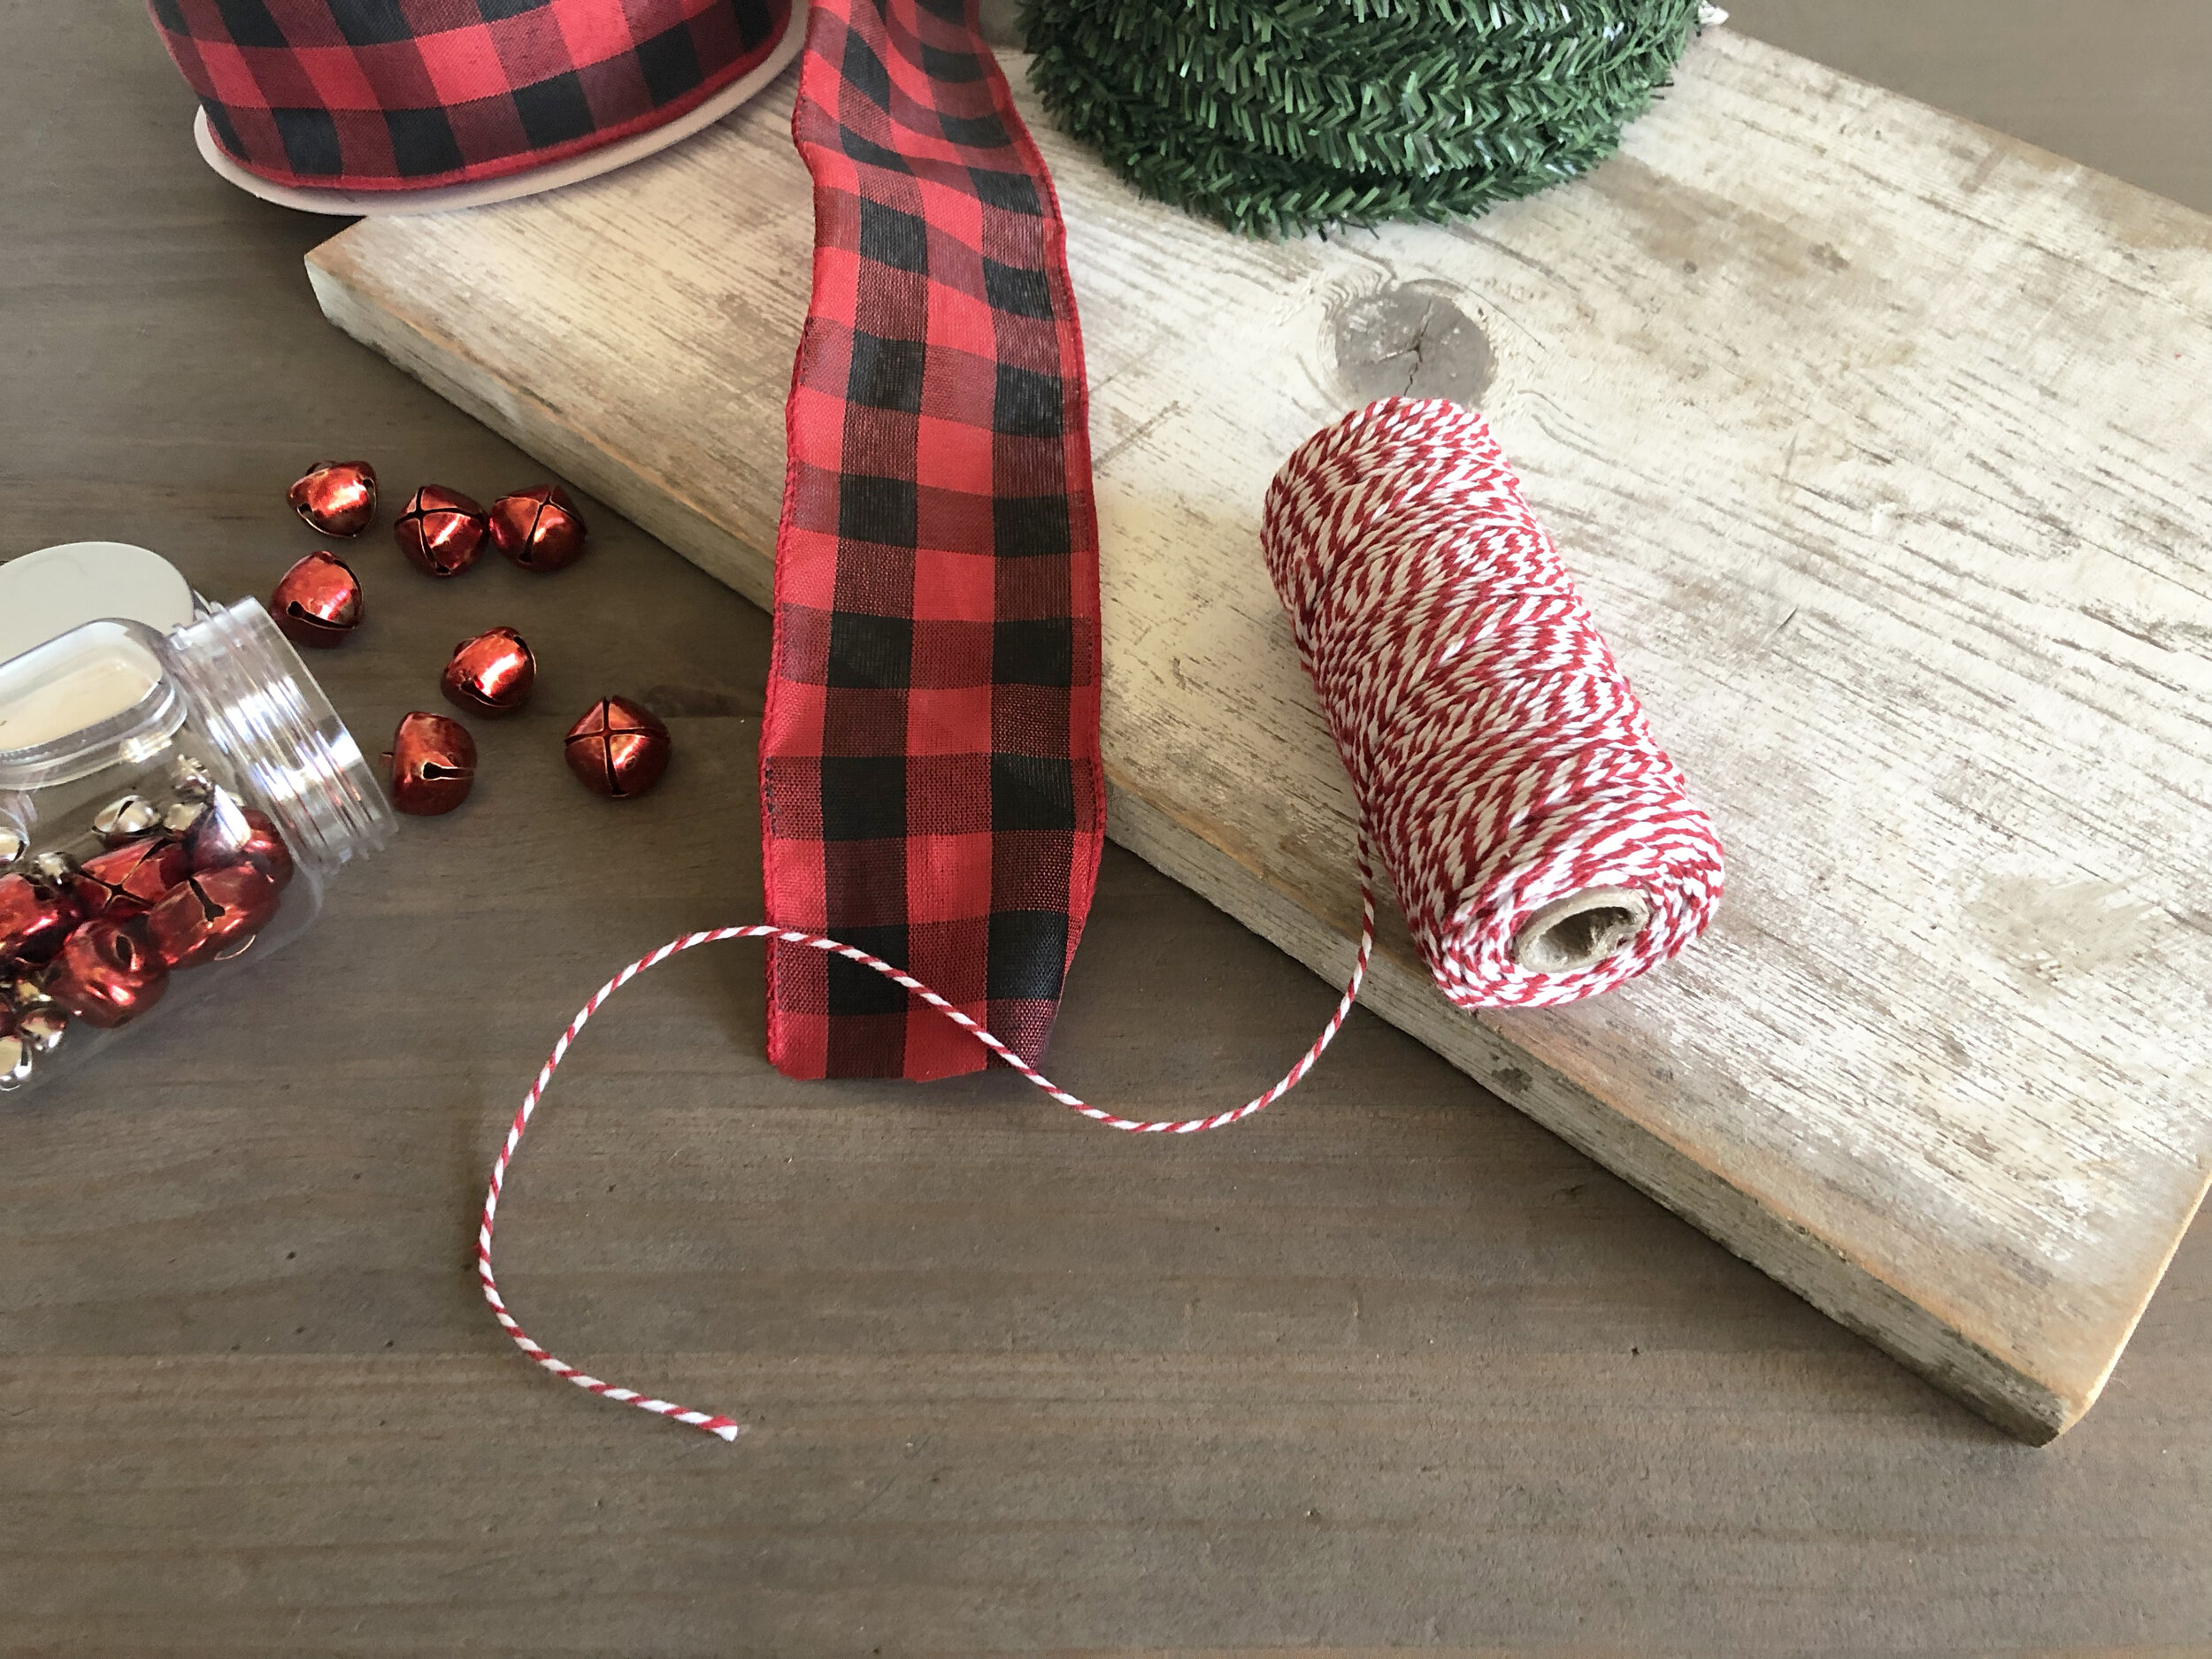
Wood Board
Ribbon
Scissors
Garland (Optional)
Candy Cane Twine (Optional)
Jingle Bells (Optional)
Charcoal Pencil (or Regular Pencil)
Paint and Thin Paint Brush
Affiliate links are included within this post for your crafting convenience and video tutorial is included below.
Step One
The first thing is find an old board. Any old board that was painted white and weathered out side. OR you can white wash or stain a new board and sand it down to give it this texture. Here you will find a tutorial on how to do this white wash look on some pumpkins. If you don’t have any reclaimed or distressed boards laying around, you can always check locally at thrift shops and garage sales for projects you can repurpose.
Step Two
It’s now time to put the ribbon around the board and we love this buffalo check ribbon that is about 2.5” wide for a larger board. If you are creating this on a smaller board, you may want to use a thinner ribbon.
The first thing you will want to do, is get a good amount unspooled. Do not cut it yet. You will take the ribbon and lay it horizontally on the board, fold it over the edge, hold it, and then flip the board over. On the back, you will bring the two ends towards each other, I recommend favoring one side of the board where they meet so the bow is off center when you bring it back to the front. Cross the ribbon, one side over the other and turn. So you are then wrapping the ribbon back around to the front in the opposite direction (vertically). After that, bring the ribbon back to the front of the board. You can then make sure you have enough ribbon to tie a bow. Once you have about the right size, you will want to cut the ribbon off of the spool, and string the two cut ends under the existing ribbon. Finally, just do a simple knot around the existing ribbon to hold it in place.
Step Three
This is the step where you can let your inner artist come out. We added some simple thin garland and bells but this is where you can get creative!! Use things you already have in your home or can find inexpensively at your local thrift store or dollar tree! The garland we used had a wire core so it was easy to twist onto the ribbon and keep in place. We also tied two-three jingle bells on each piece of candy cane twine and then hot glued them under where the bow will go.
Step Four
The next step is to tie the bow. It is just a very simple bow, just like you would tie your shoe. Then cut the ends of the ribbon to give them a nice finished look. To do this, just fold the ribbon in half and cut it at a 45 degree angle towards the center of the ribbon.
Step Five
Now, it is time to paint the letters. If you are good at free handing letters, unlike me, you can go ahead and just paint the letters on the board. If free handing isn’t your specialty, you can trace them on first. We used a charcoal pencil because it erases nicely and it also doesn’t carve into the wood as you write. Any household pencil will work, just be sure to press gently for a nice light tracing line. Next, pick the paint color you want, we went with black, and trace the pencil with a thin paint brush.
And that’s it guys! You now have yourself a handmade, beautiful winter sign to add to your decor. We would love to see what you have been working on, so send us some pictures on the social media below.
